Collar Making Demo
This is a work in progress. Try out the tool below. Here’s how.
The defaults are my measurements. Feel free to change these measurements and play around with them:
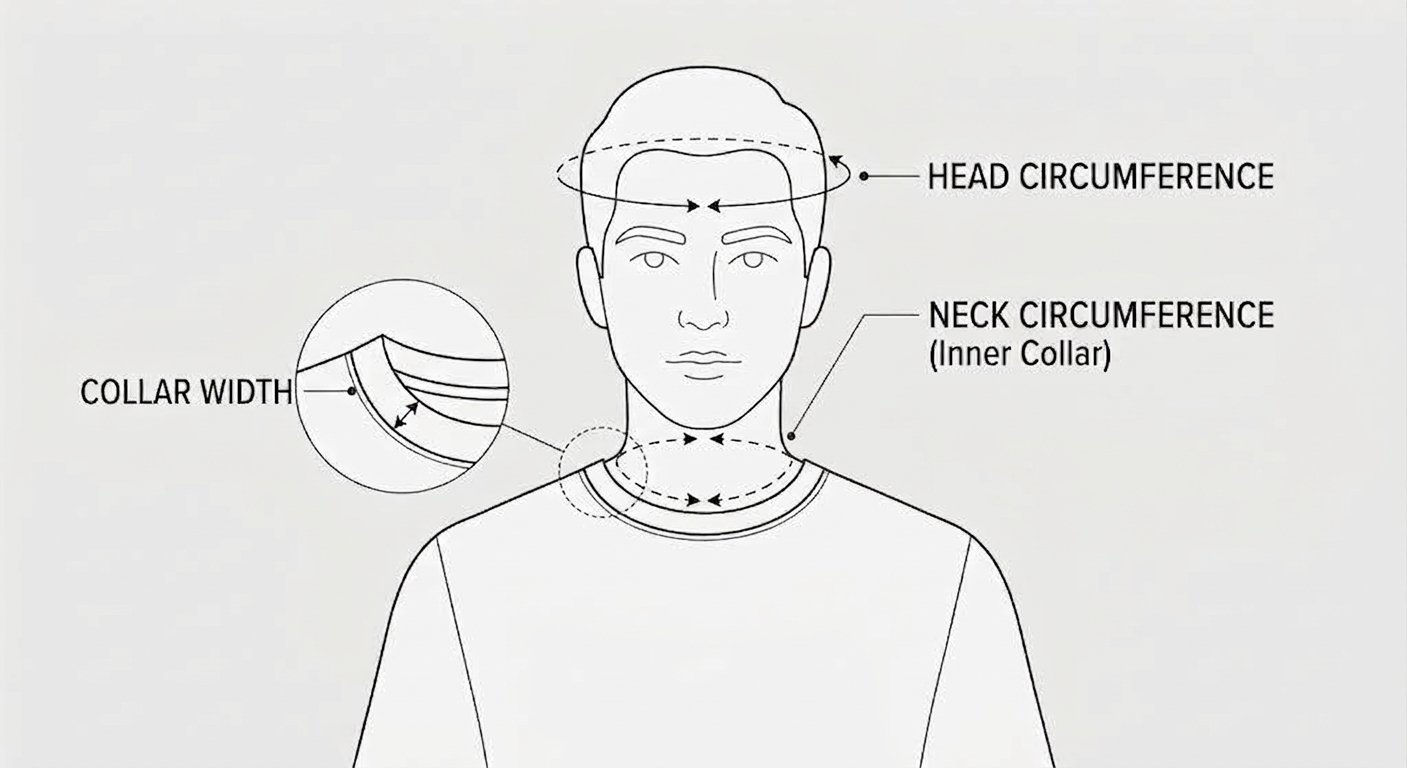
Head circumference - currently ignored, will be used to make sure the collar isn’t too small.
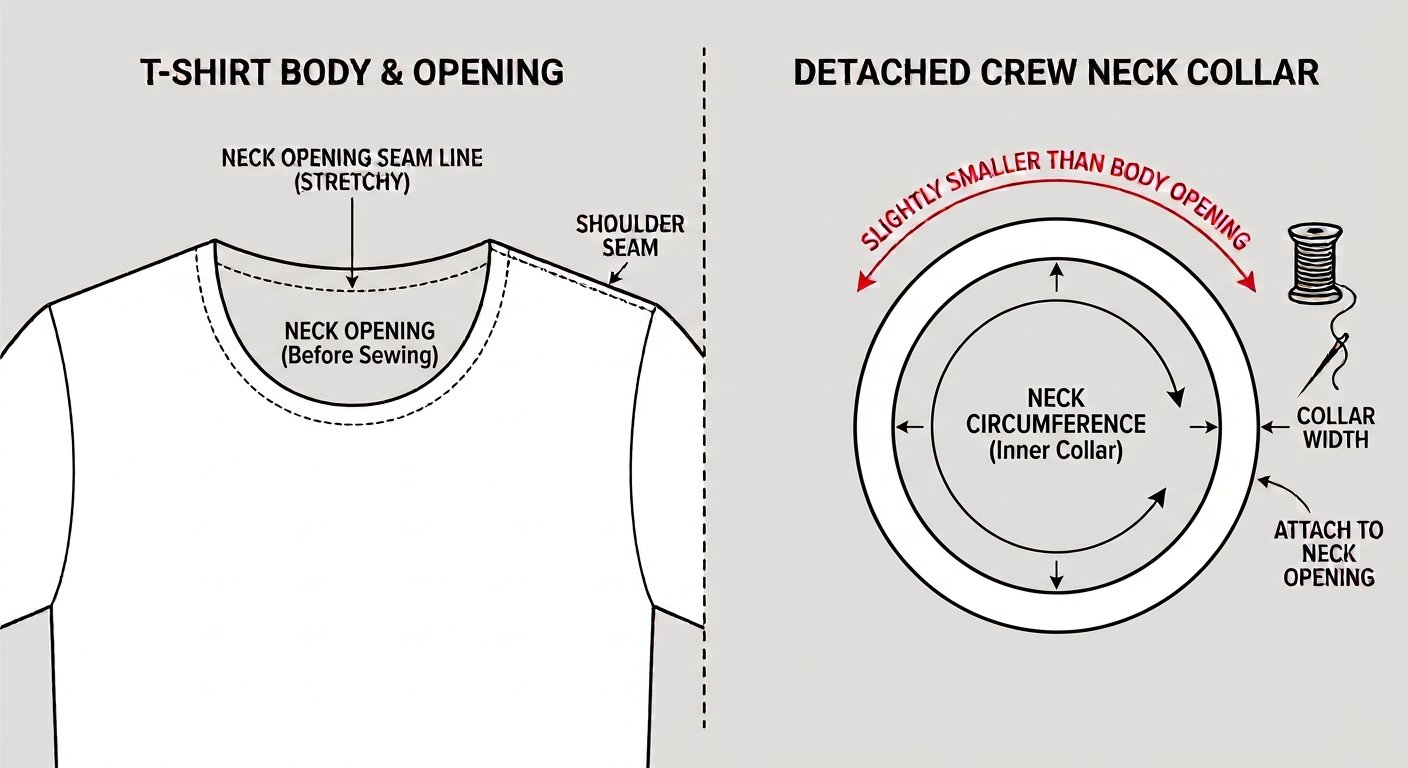
Values are usually in the range 20-25 inches.Neck circumference - how small the collar should be at it’s smallest near the neck. This must be smaller than the neck opening.
Values are usually in the range 12-18 inches.Neck opening - where the collar meets the body of the shirt. This must be larger than the neck circumference.
Values are typically near the head circumference ± an inch or two.Collar width - generally about 0.75 to 1.5 inches.
Values are smaller when the neck opening and neck circumference are small.Neck opening scale factor - how much smaller the collar should be than the neck opening. Generally this is 80-90% for this type of collar.
The default 88% is likely fine, but up to 90% or down to 85% works too.Seam allowance - how much extra you need.
Values are typically 0.25 - 0.5 inches.
When you click Make Printable Pages you’ll get tiles you can print and tape together. Make sure the ruler at the bottom matches upon printing at 100% scale.
Upcoming changes:
Reduce the size of the pattern by showing half of it and a fold line since it’s symmetric. This should generally get it down to one page.
Formatting clean up.
Putting in calculations and warnings for when the collar seems too small for going over the head circumference.
Enhancing instructions for how to sew the collar to the t-shirt body.
Add in limits and safeguards to make sure you can’t put invalid measurements.
This demo makes more sense if you’ve made t-shirt collars before. The quick summary of how to sew it:
Cut 2 of the pattern.
Sew the inside arcs together facings toward each other.
Press open the collar seam and sew the left and right ends of the arcs together to form a loop.
Fold the collar with facings out. Press. The inside of the collar should look finished as the inner arc seam allowance is enclosed.
Attach the two raw edges of the collar (toward the outer arc) to the t-shirt body (similar to how you’d attach ribbing).