Let’s Make T-Shirts Together
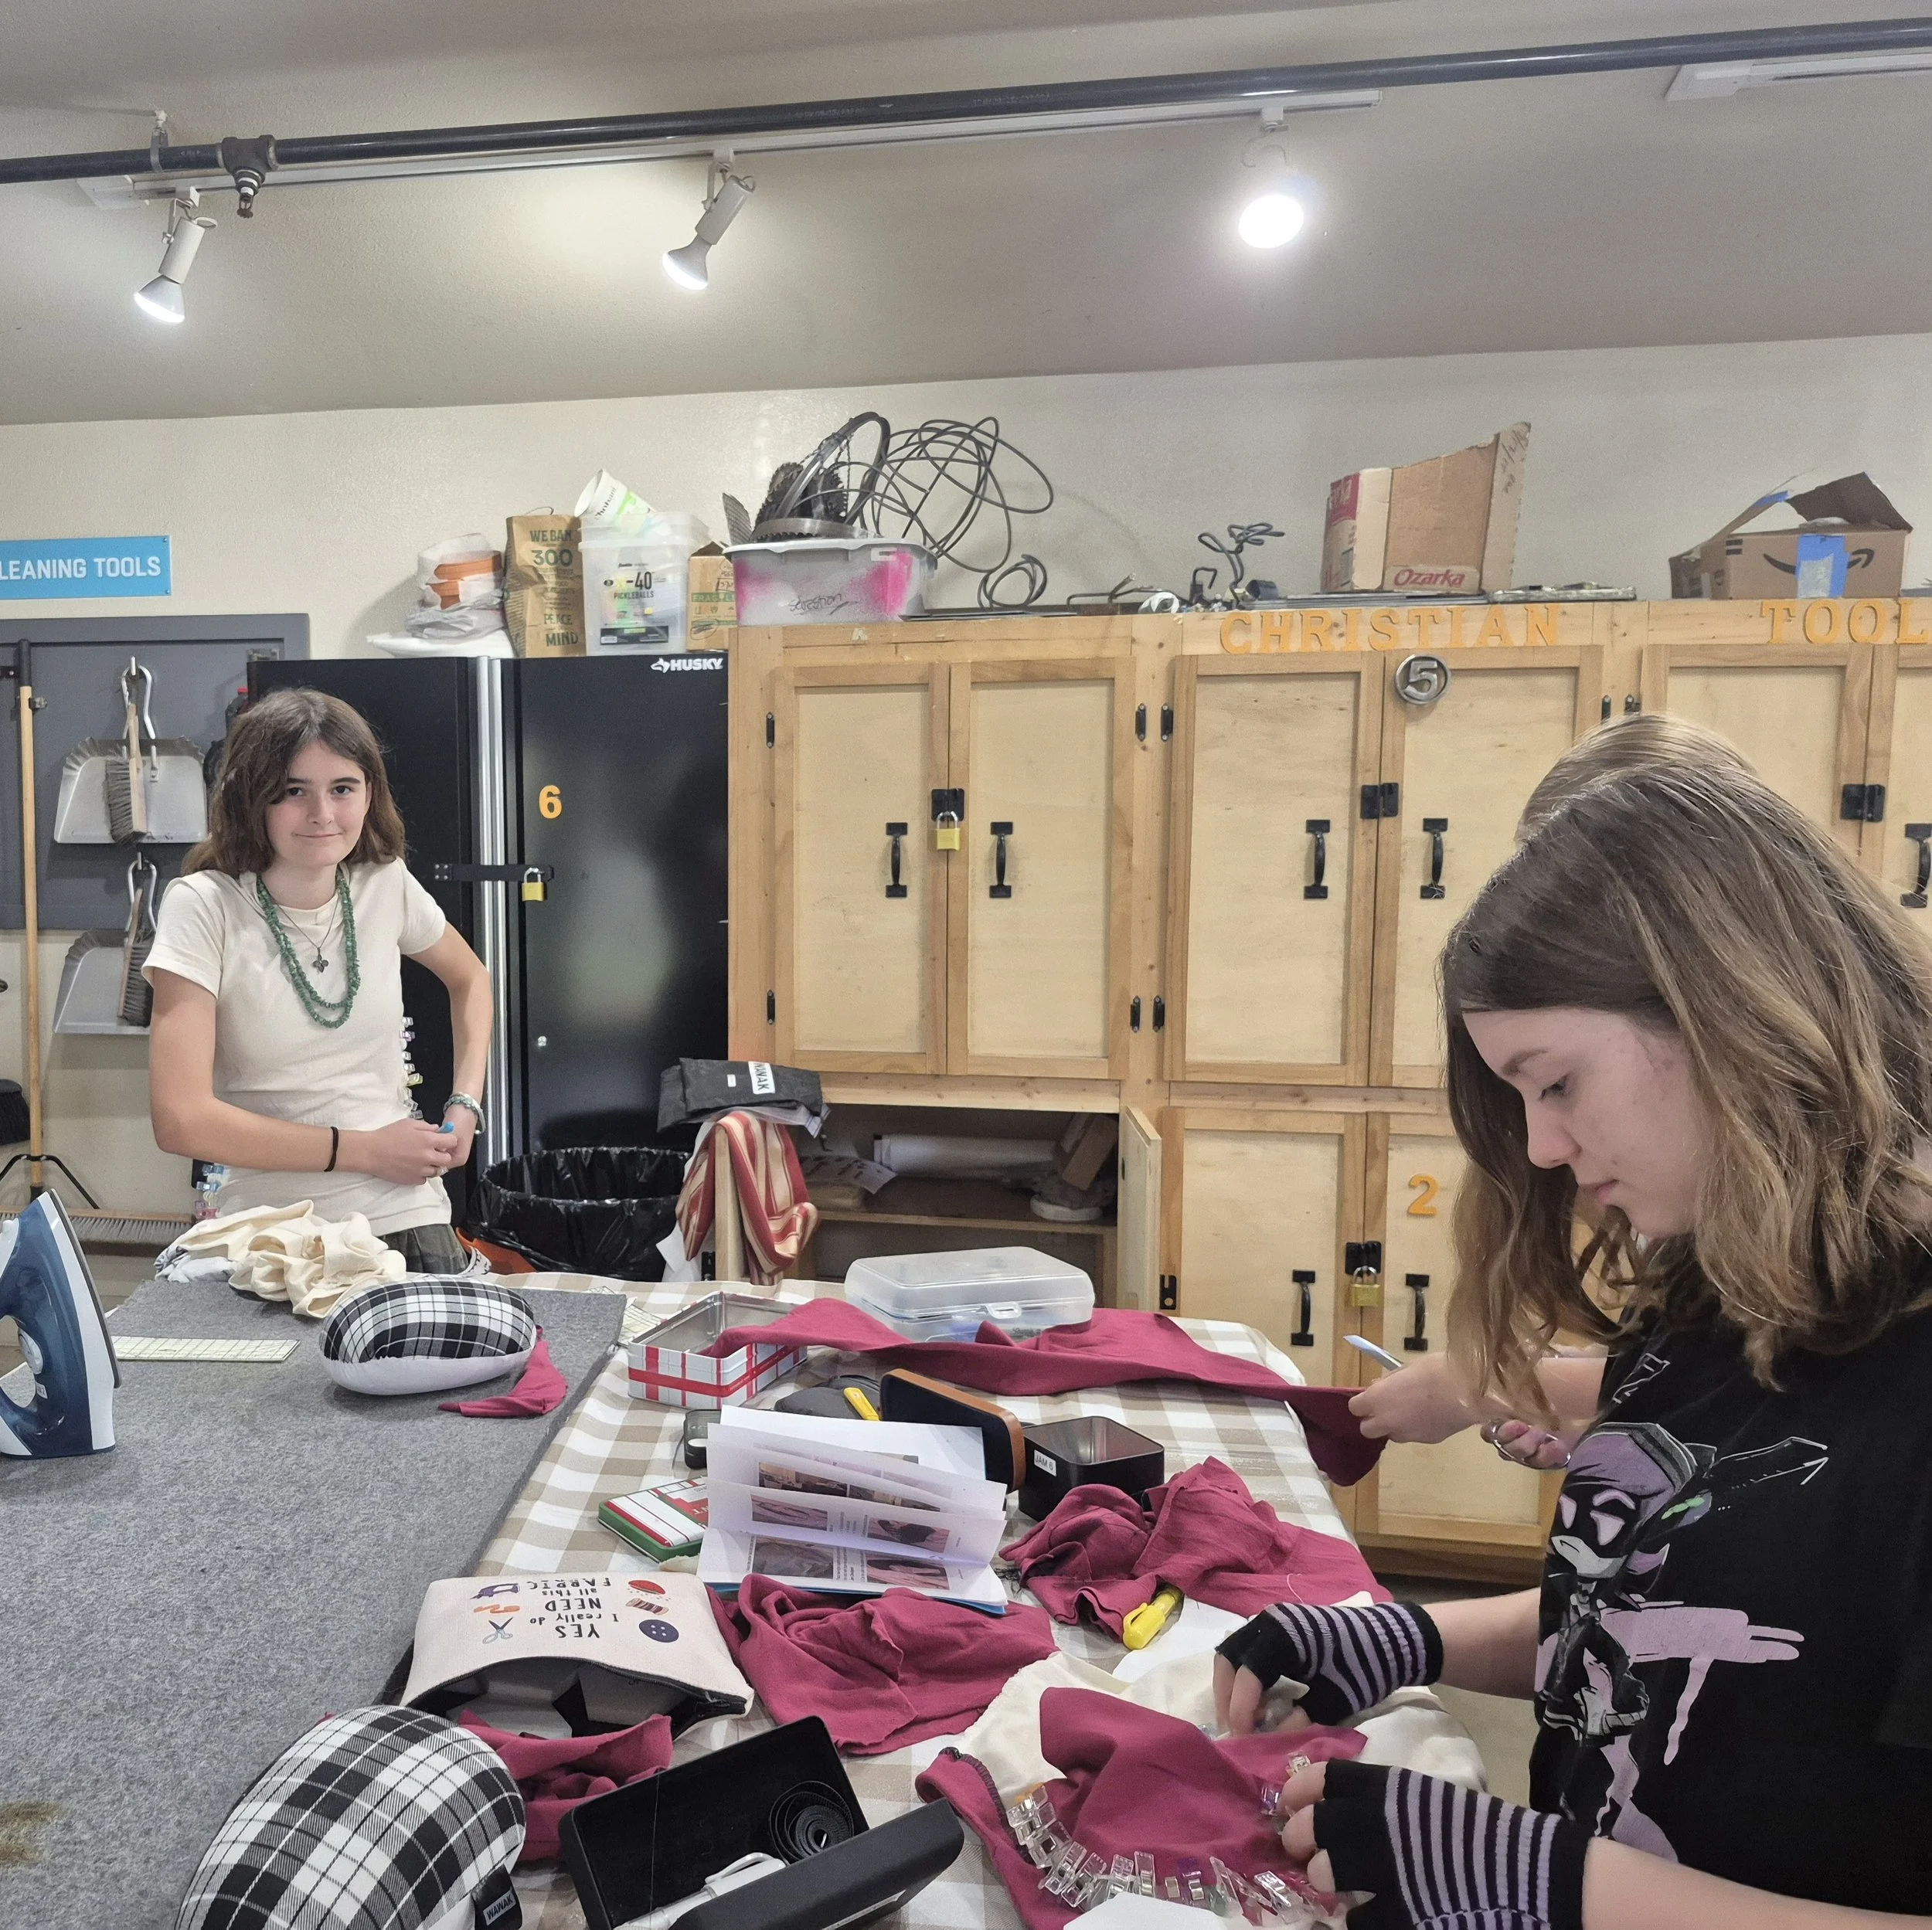
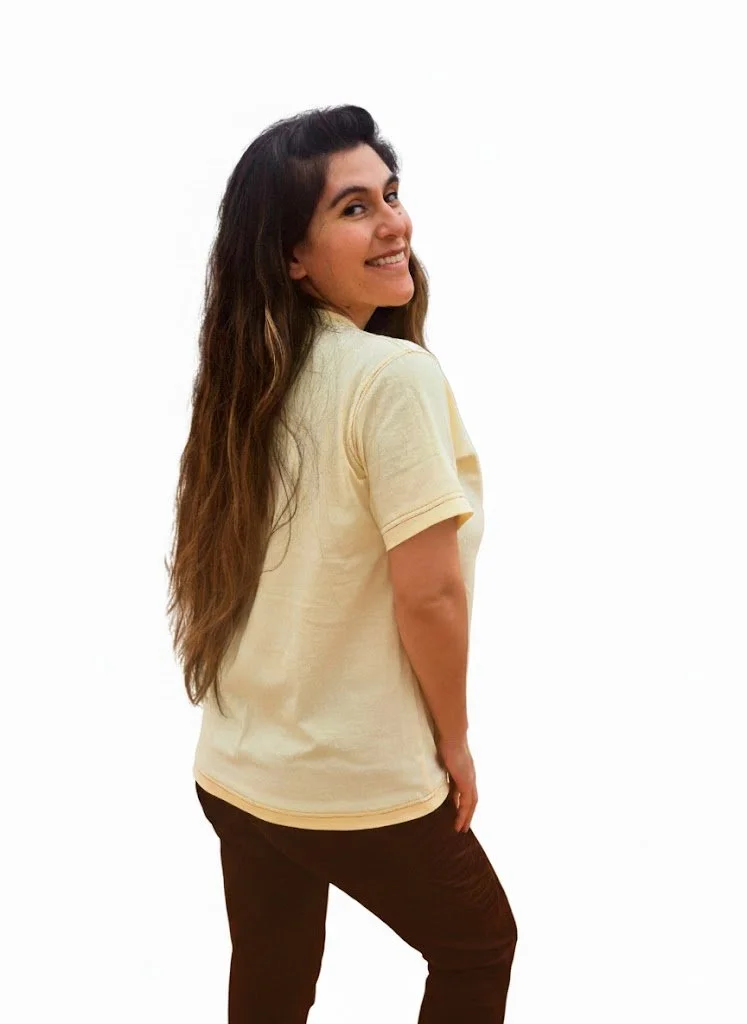
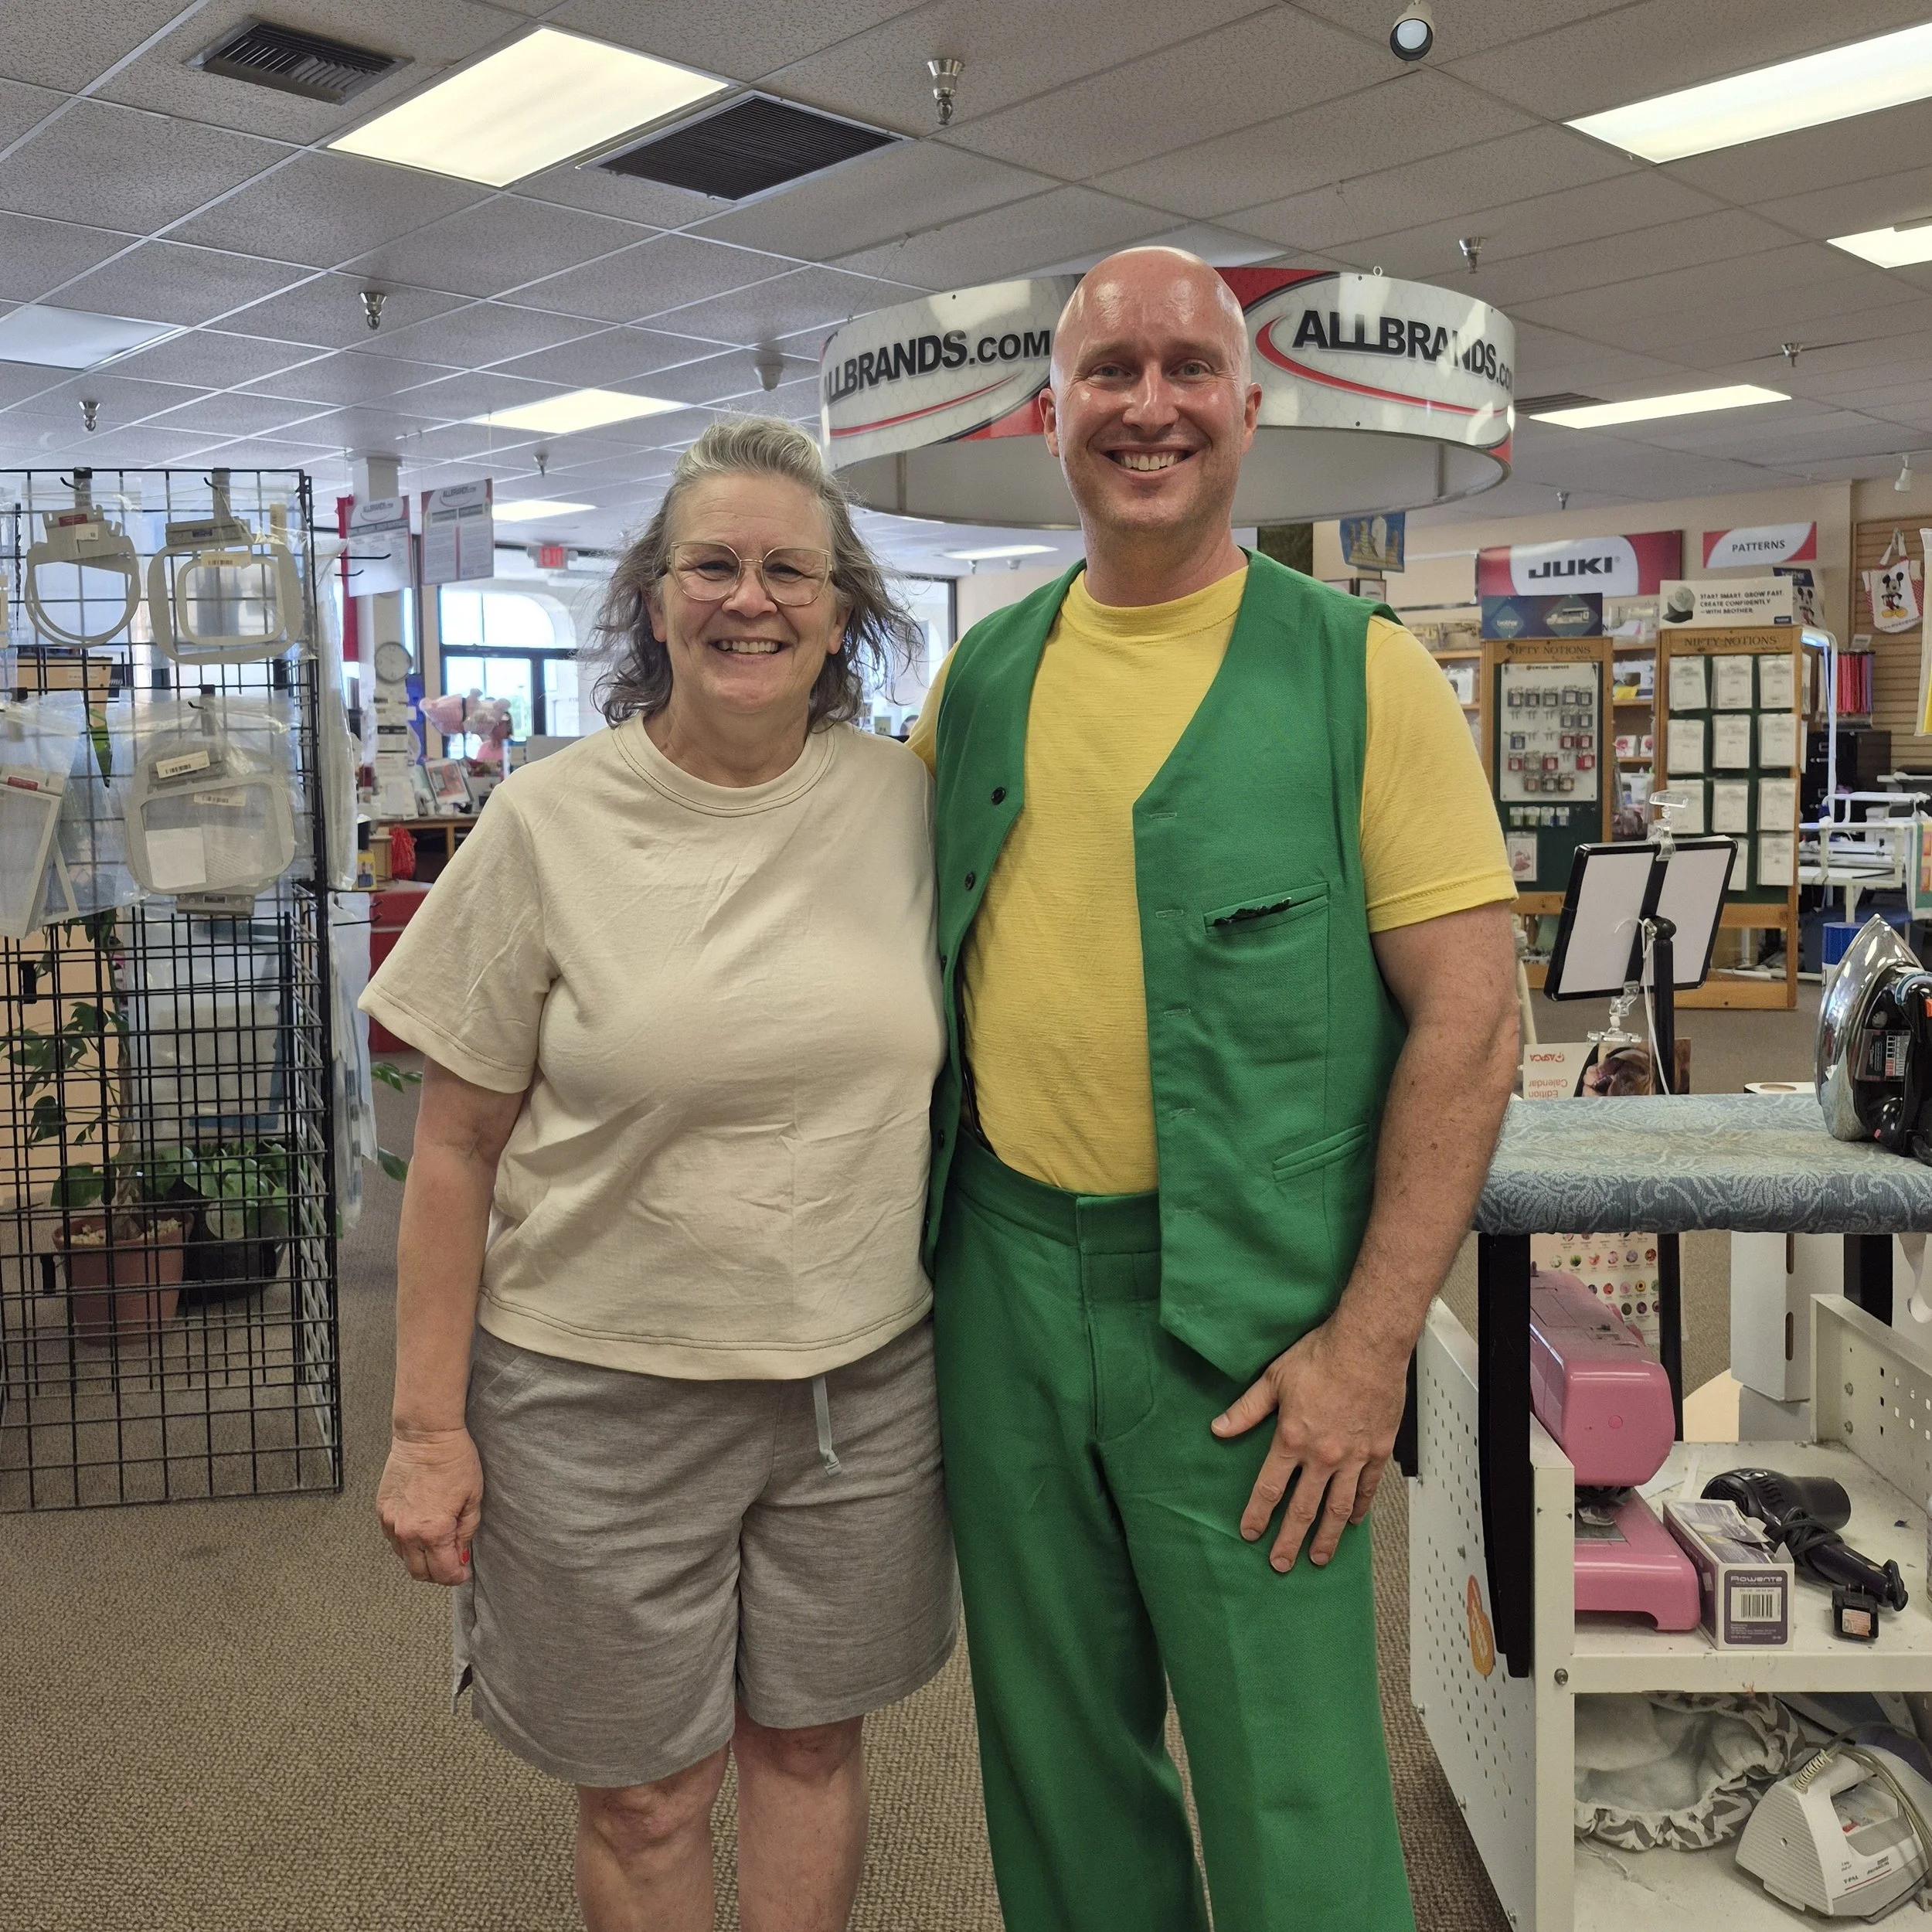
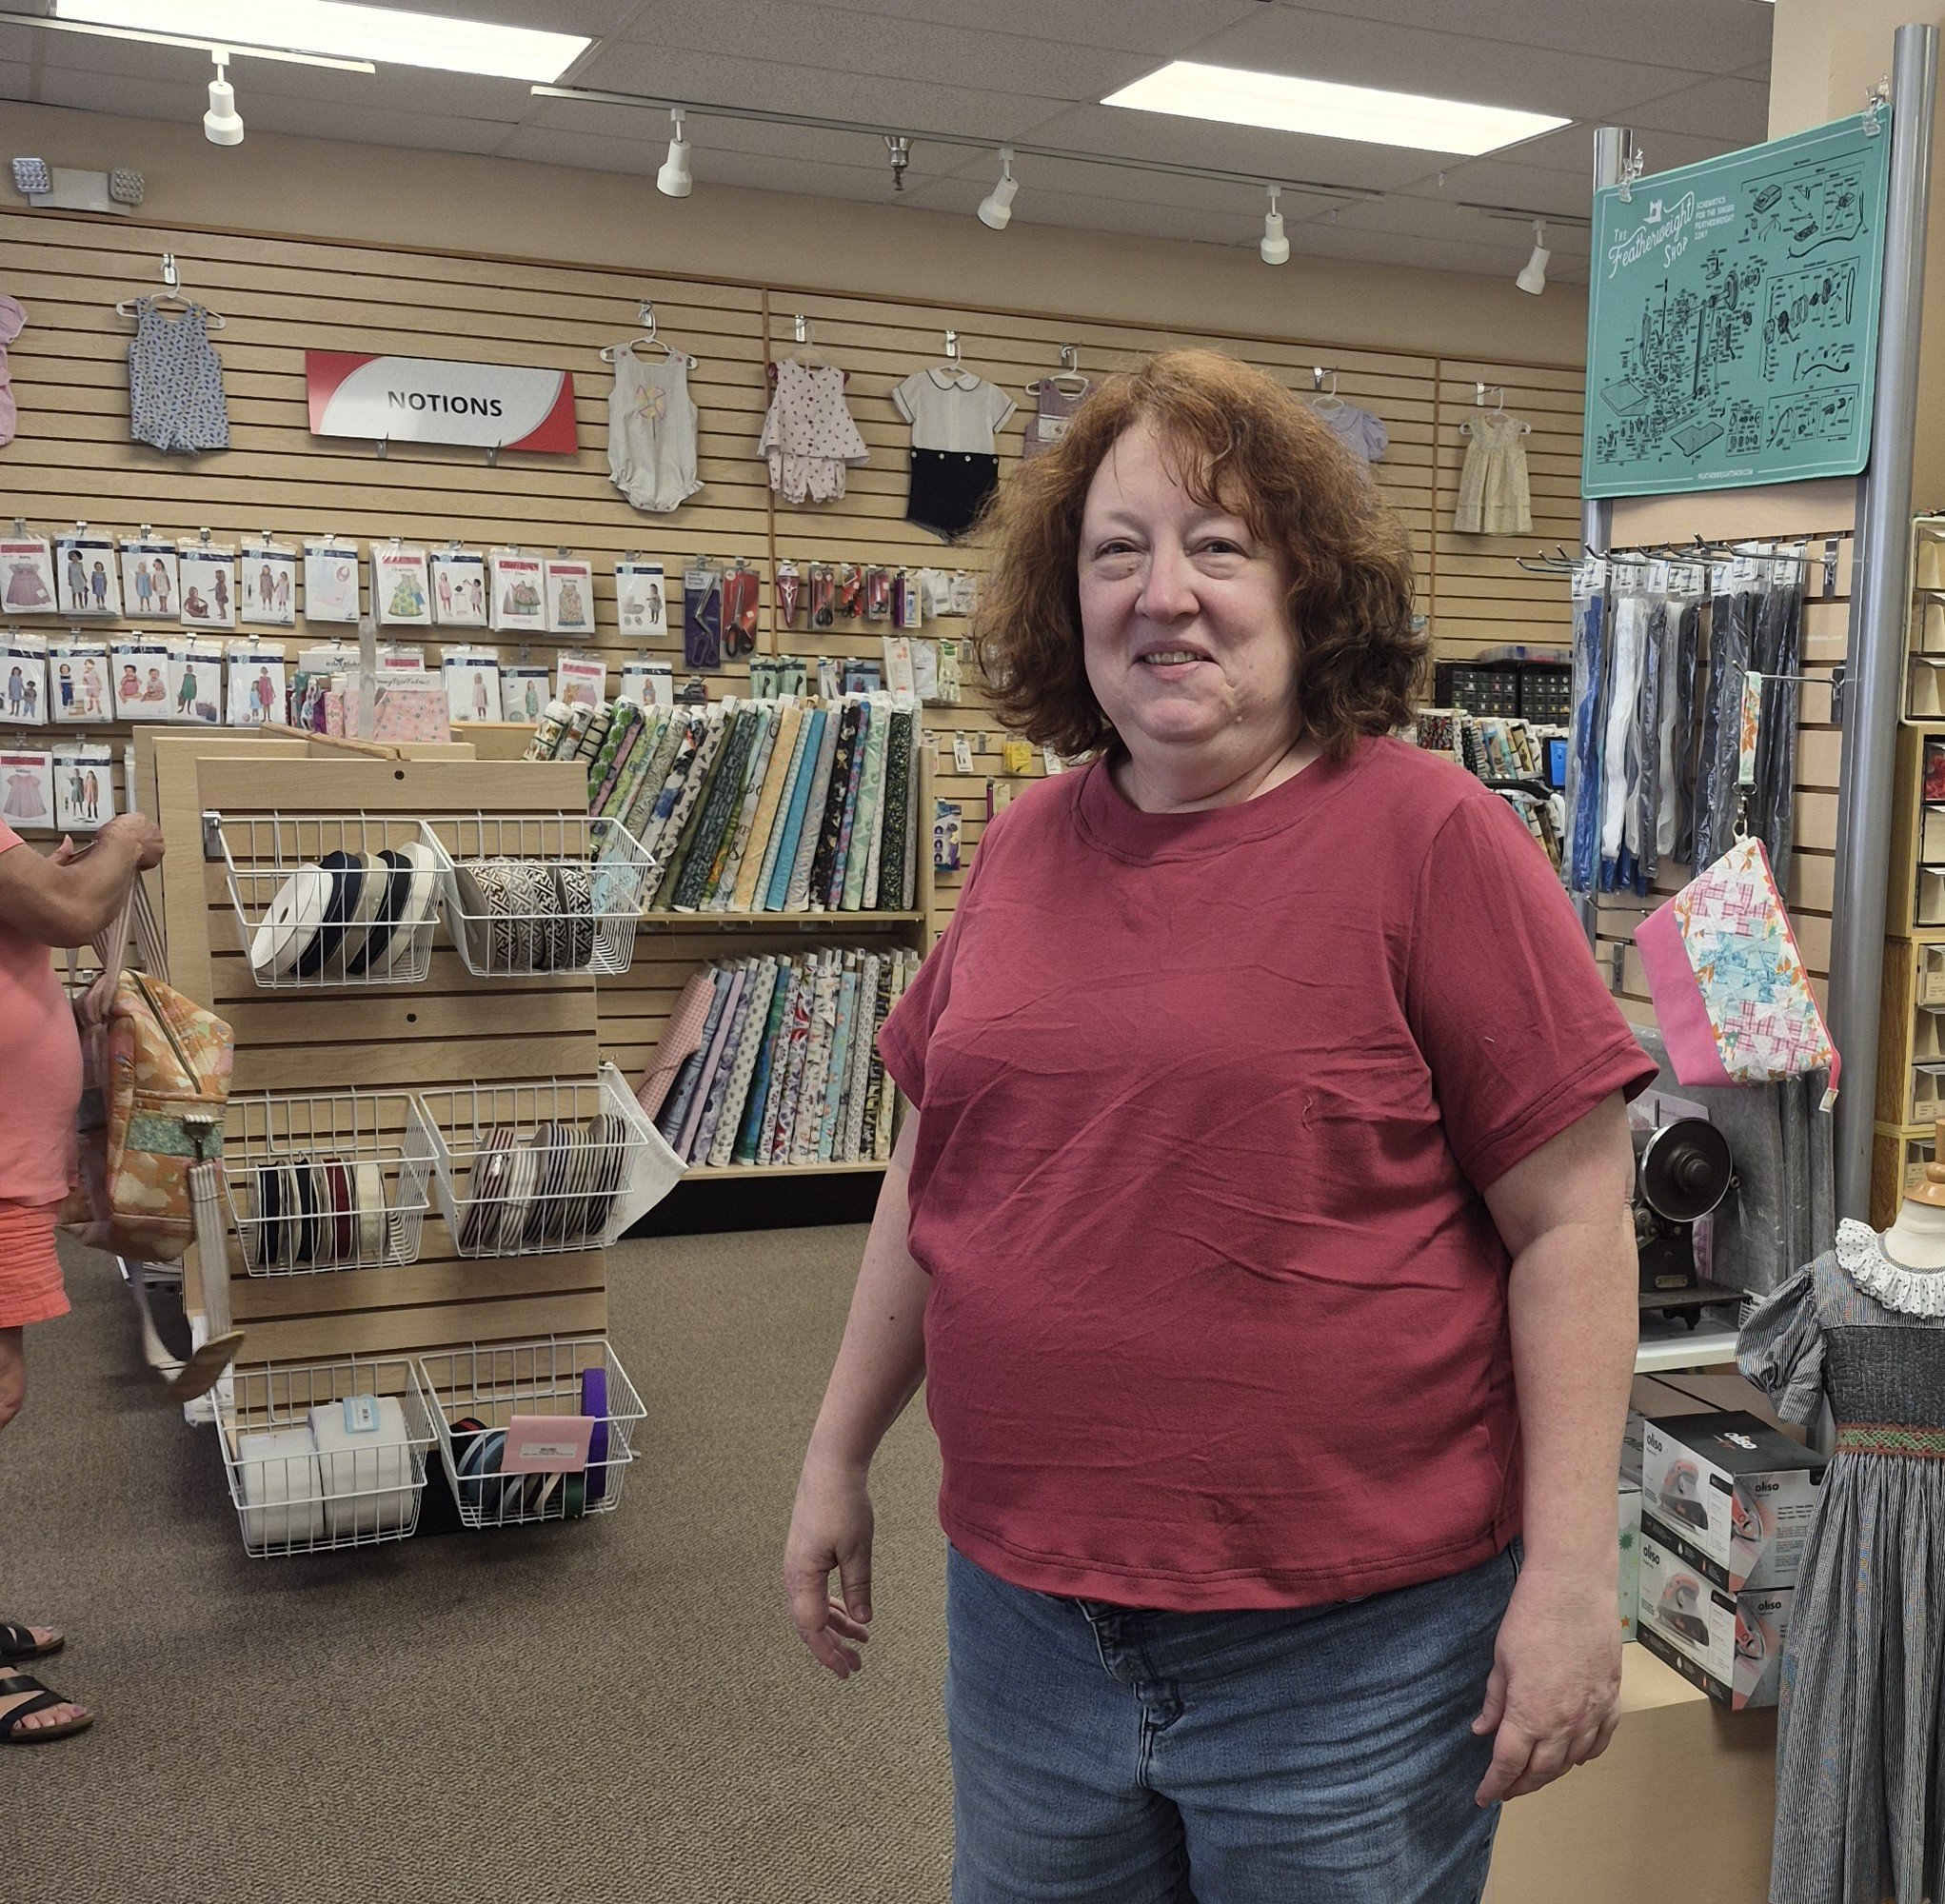
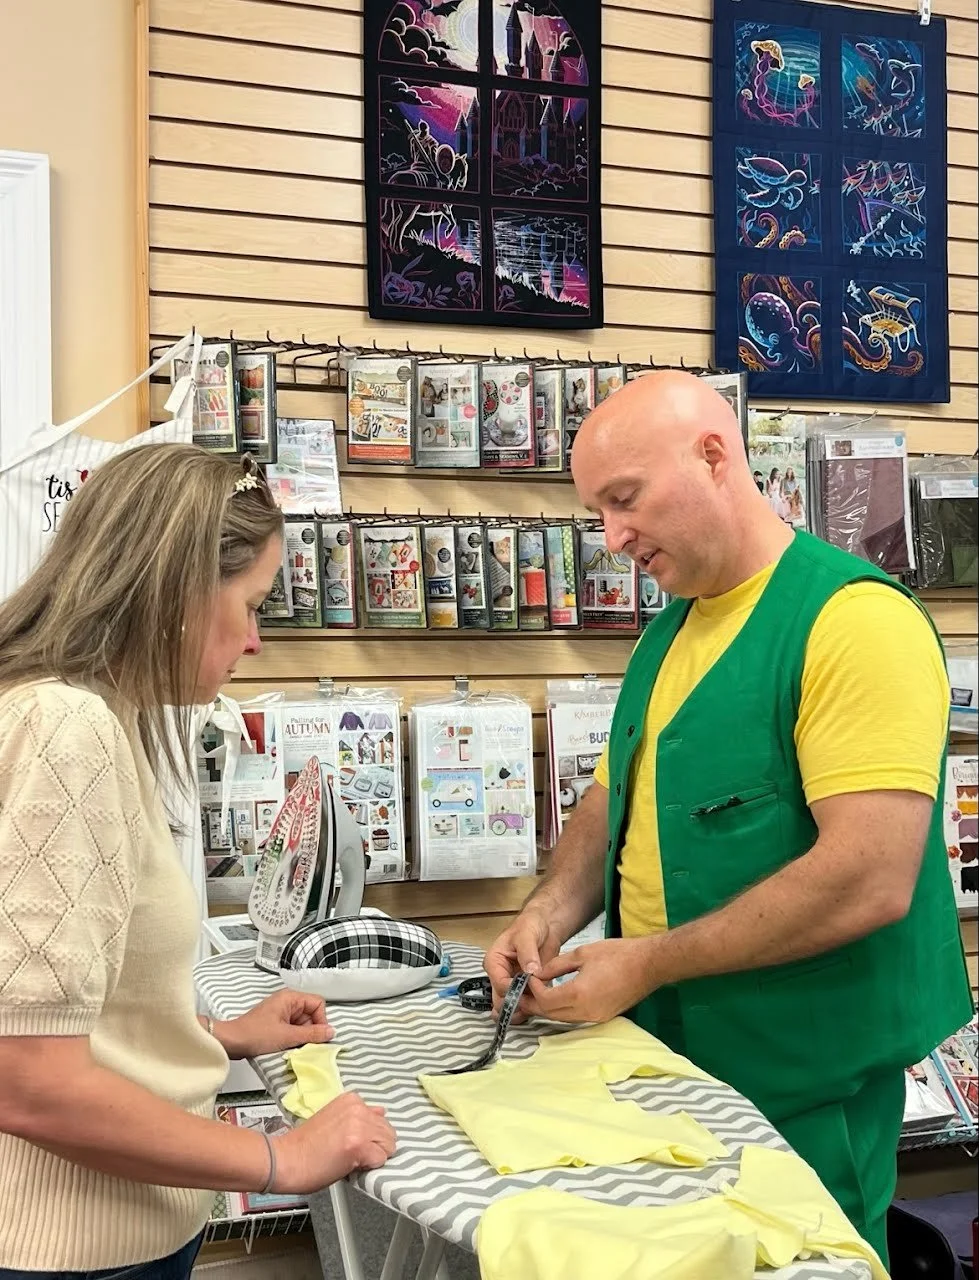
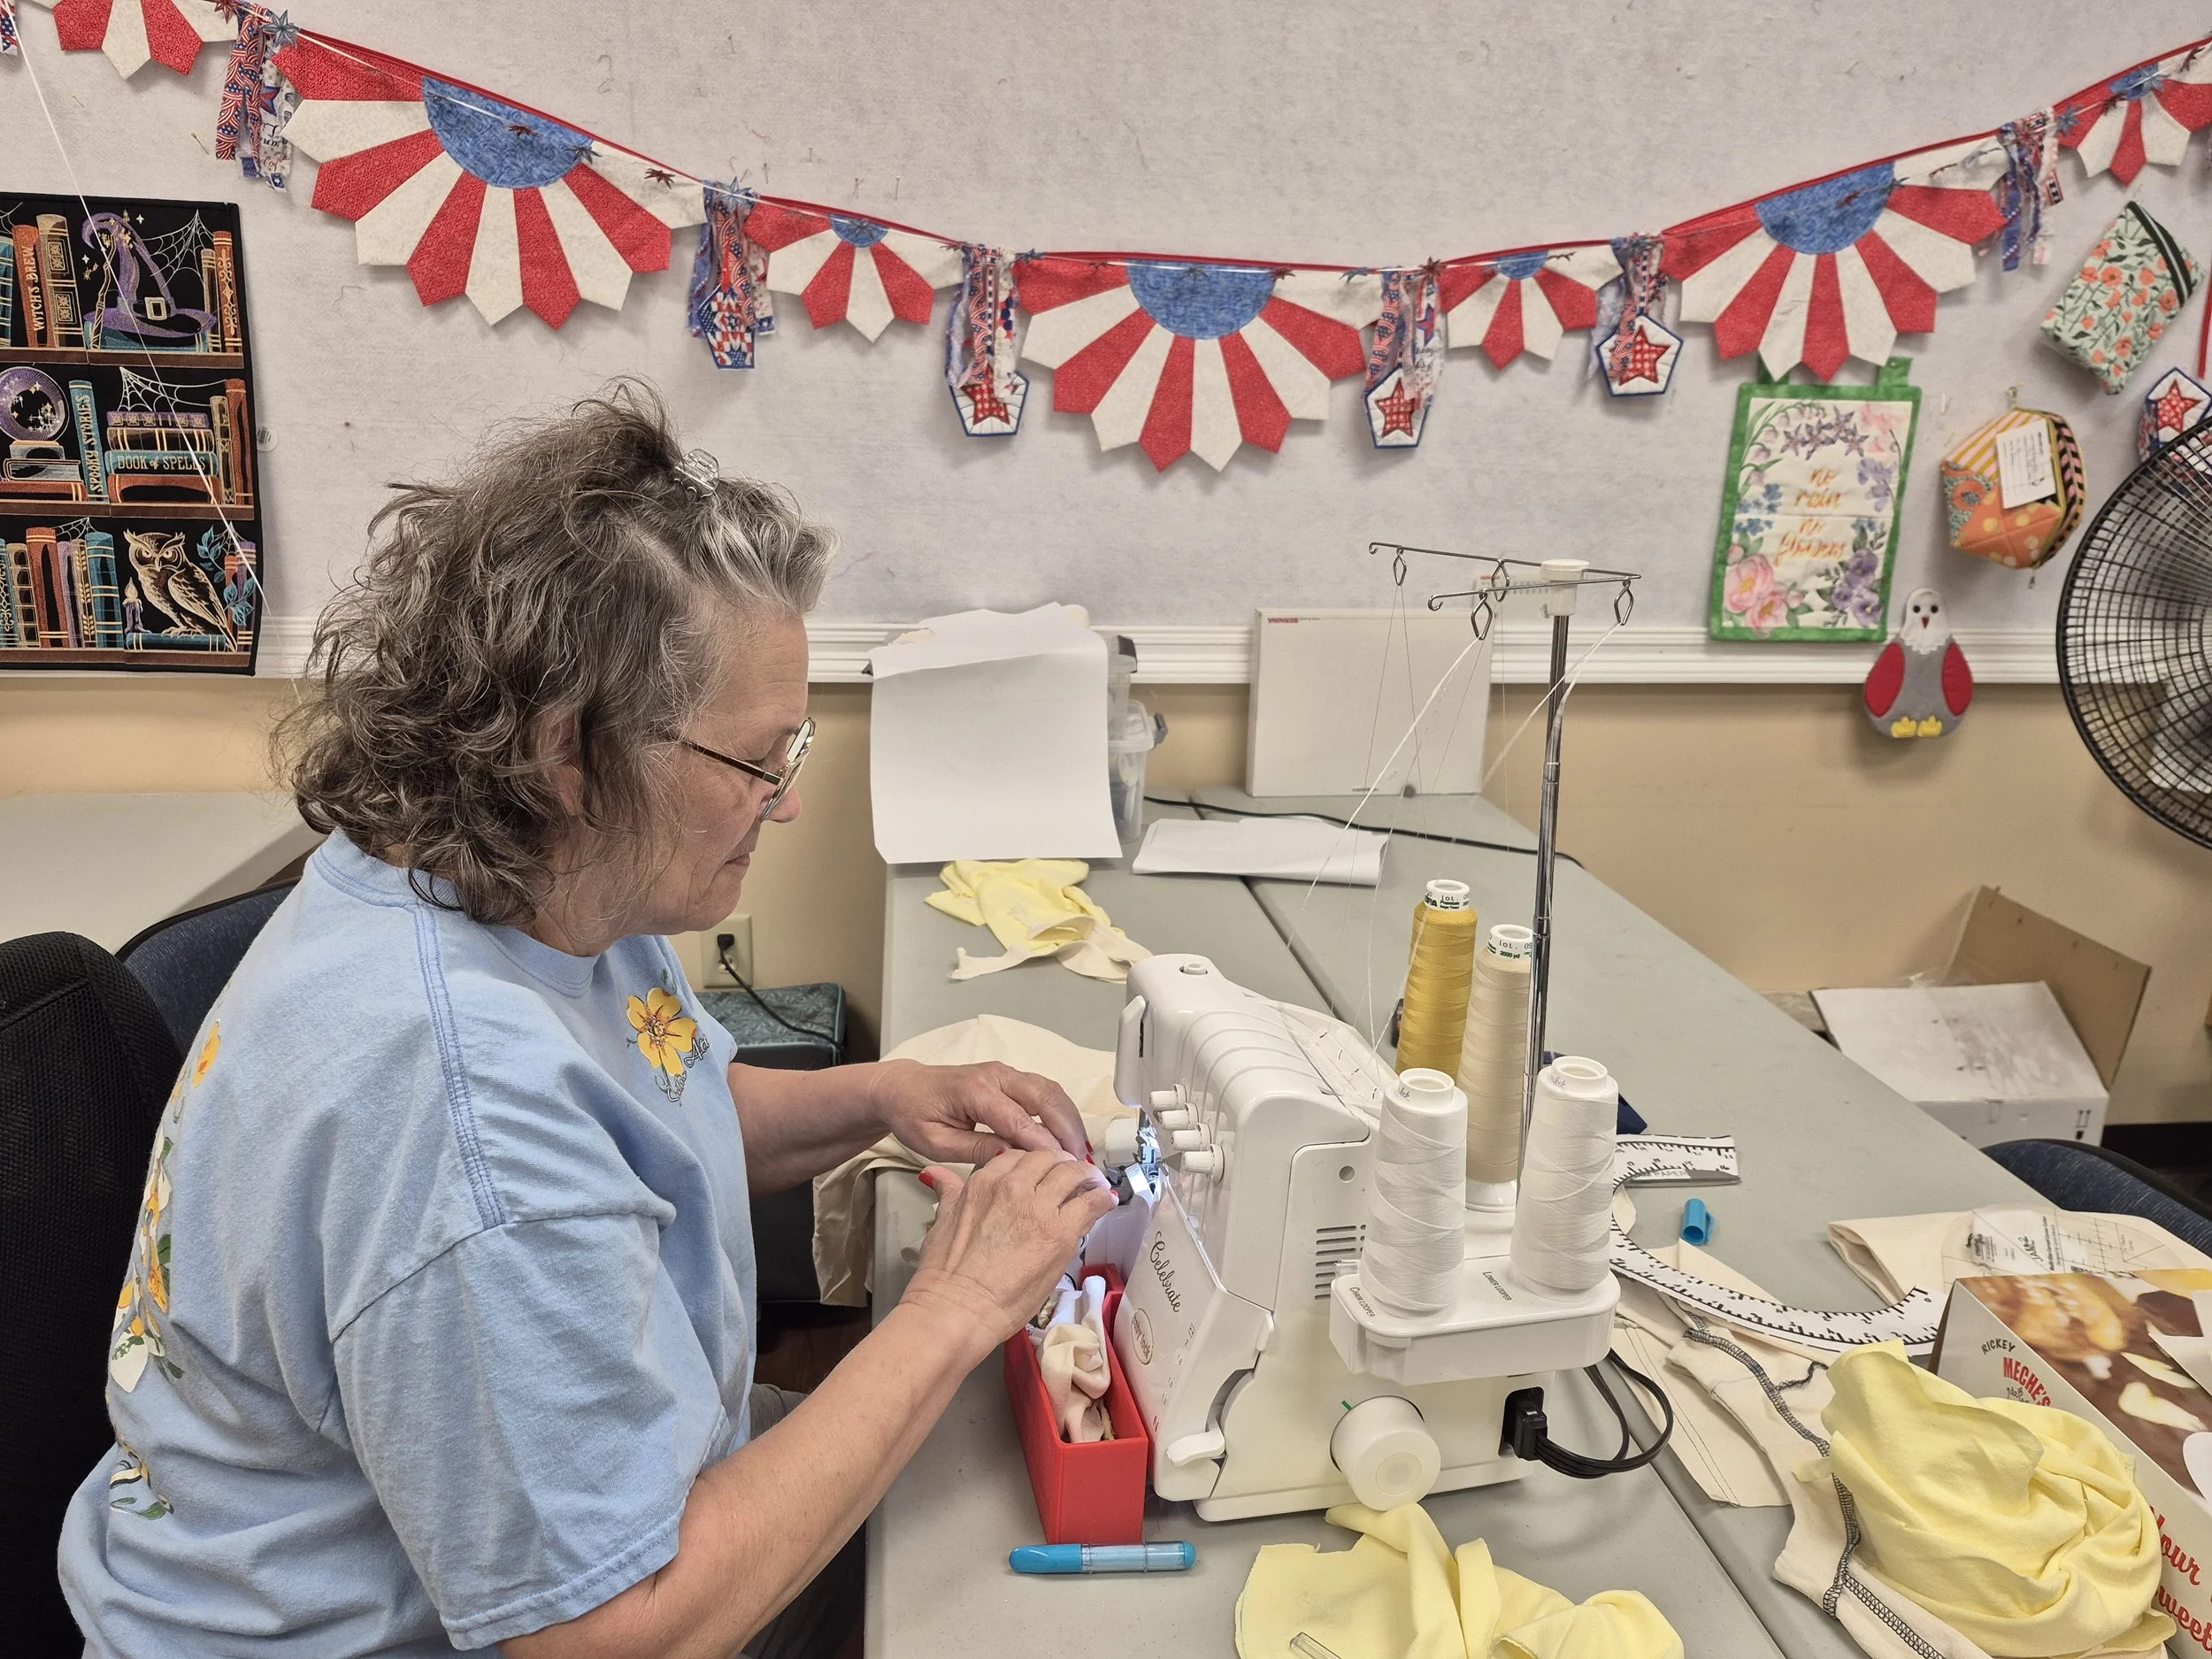
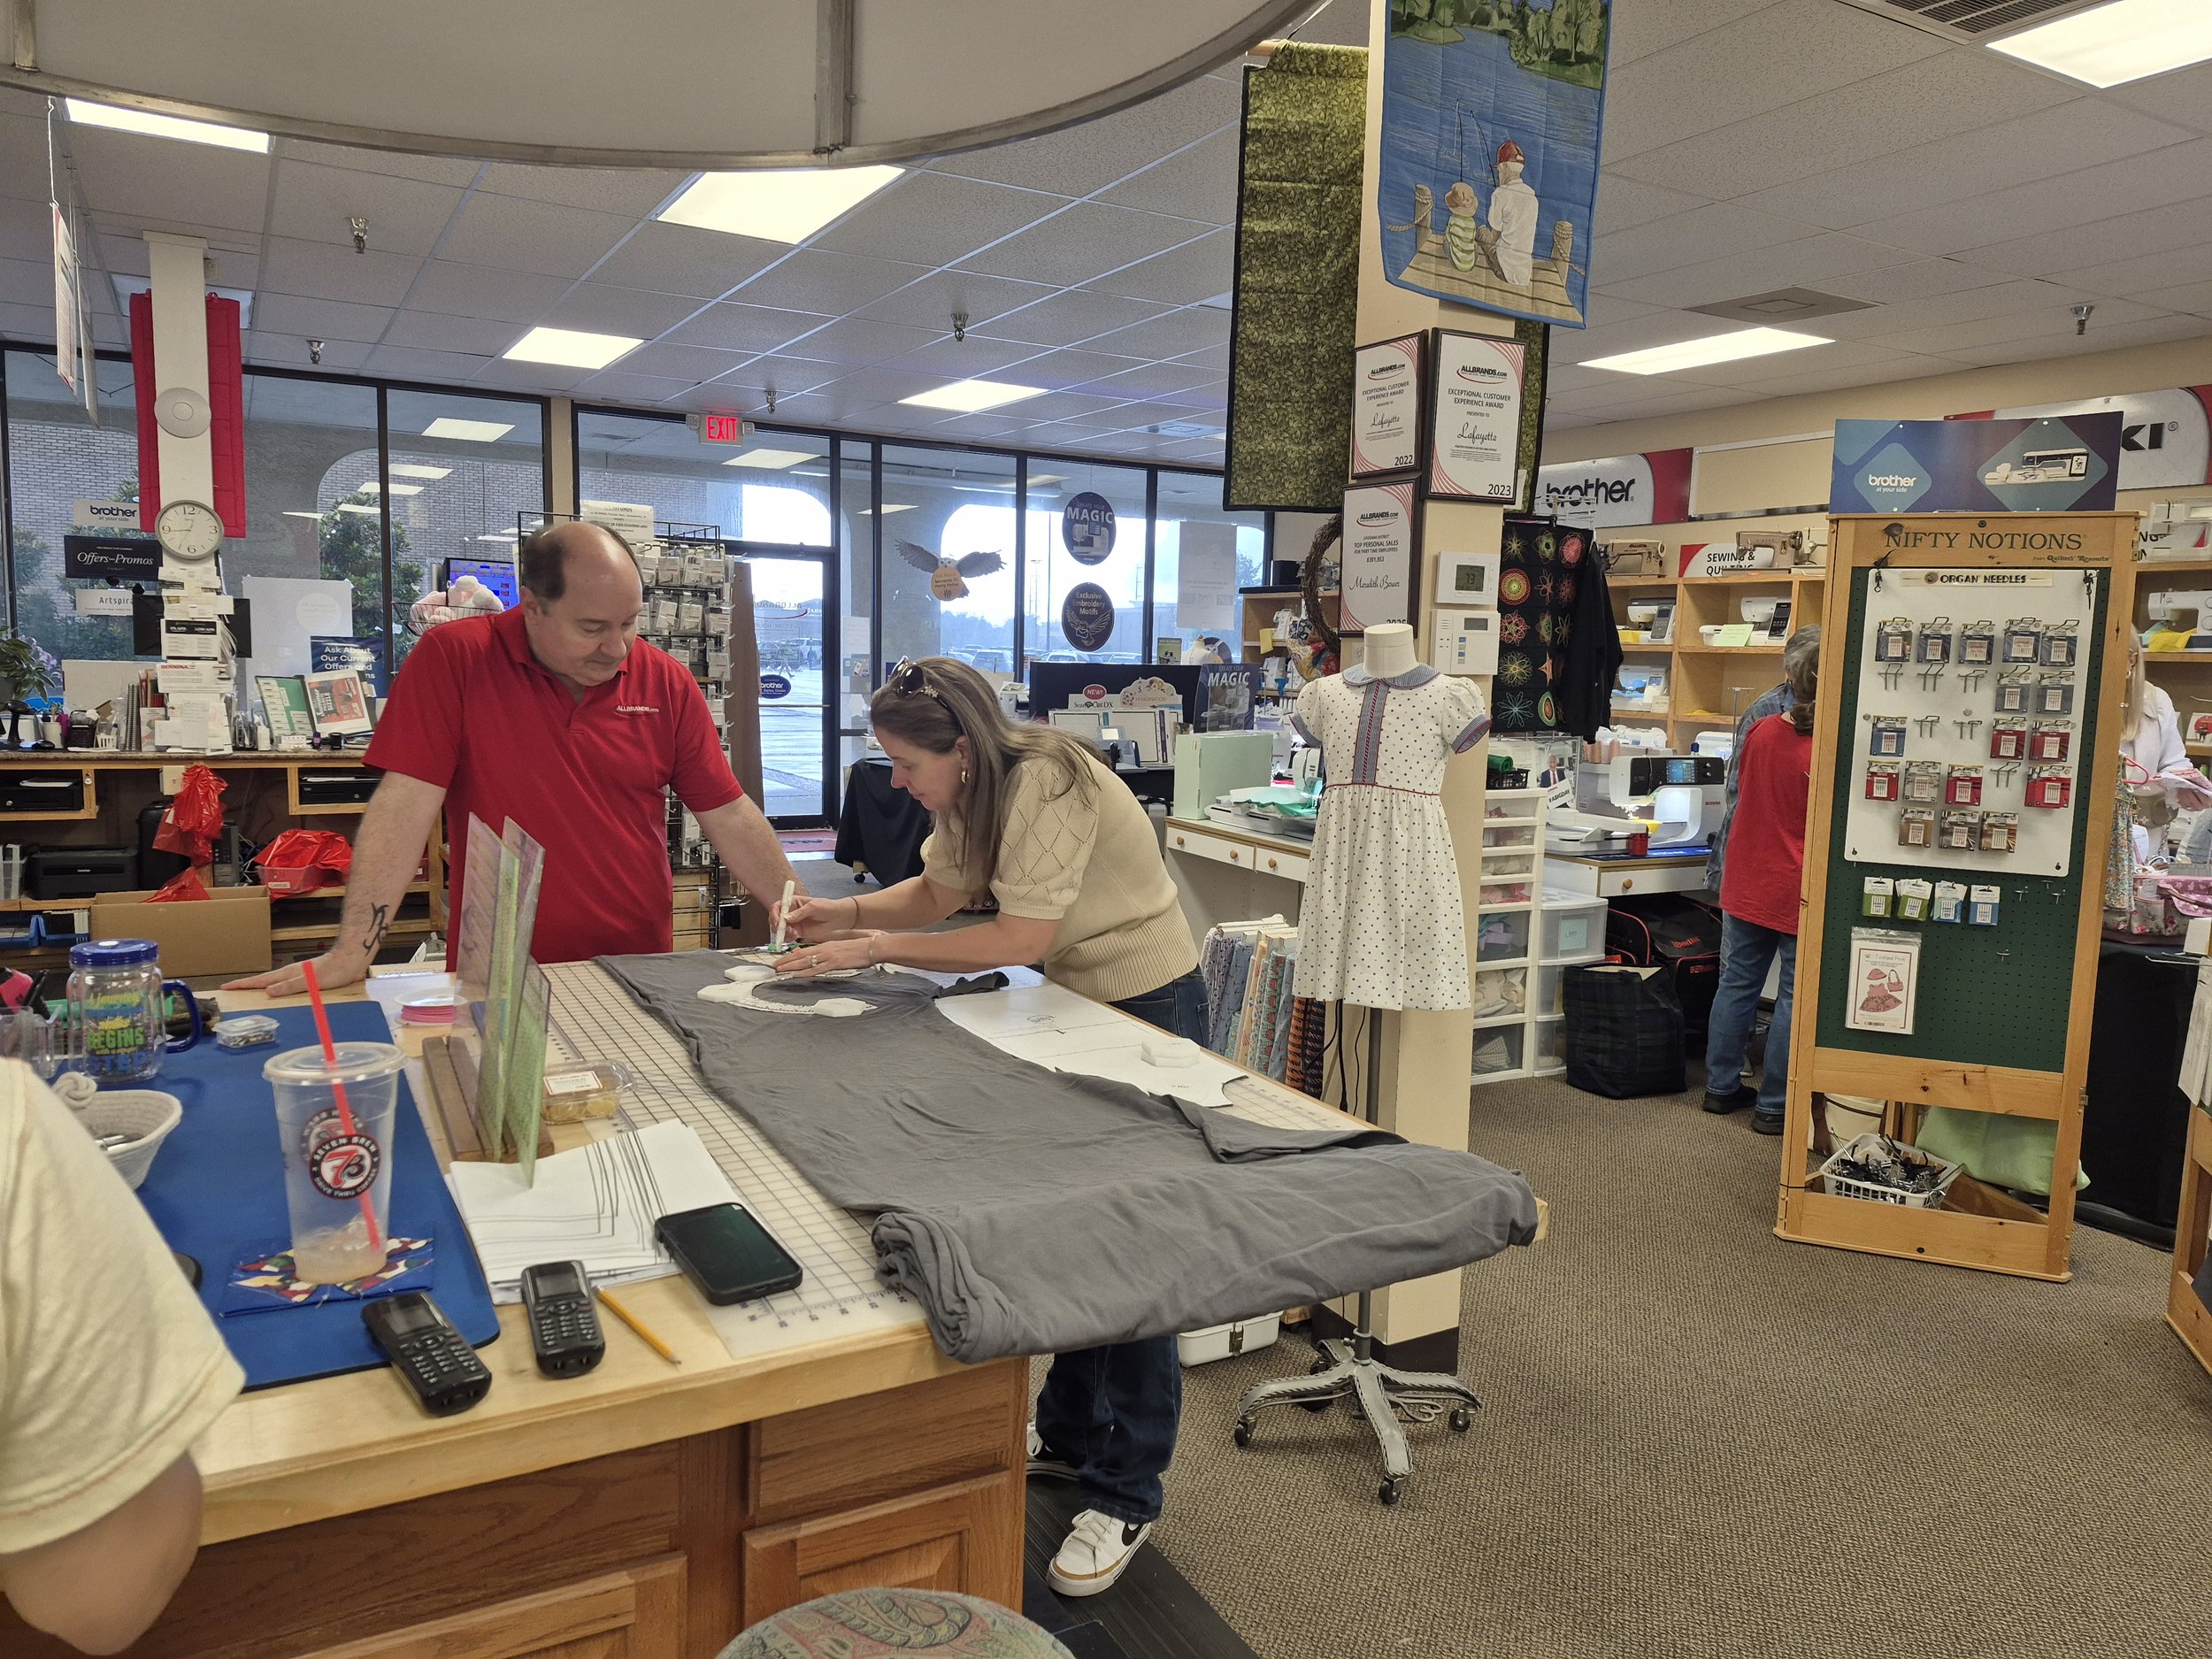
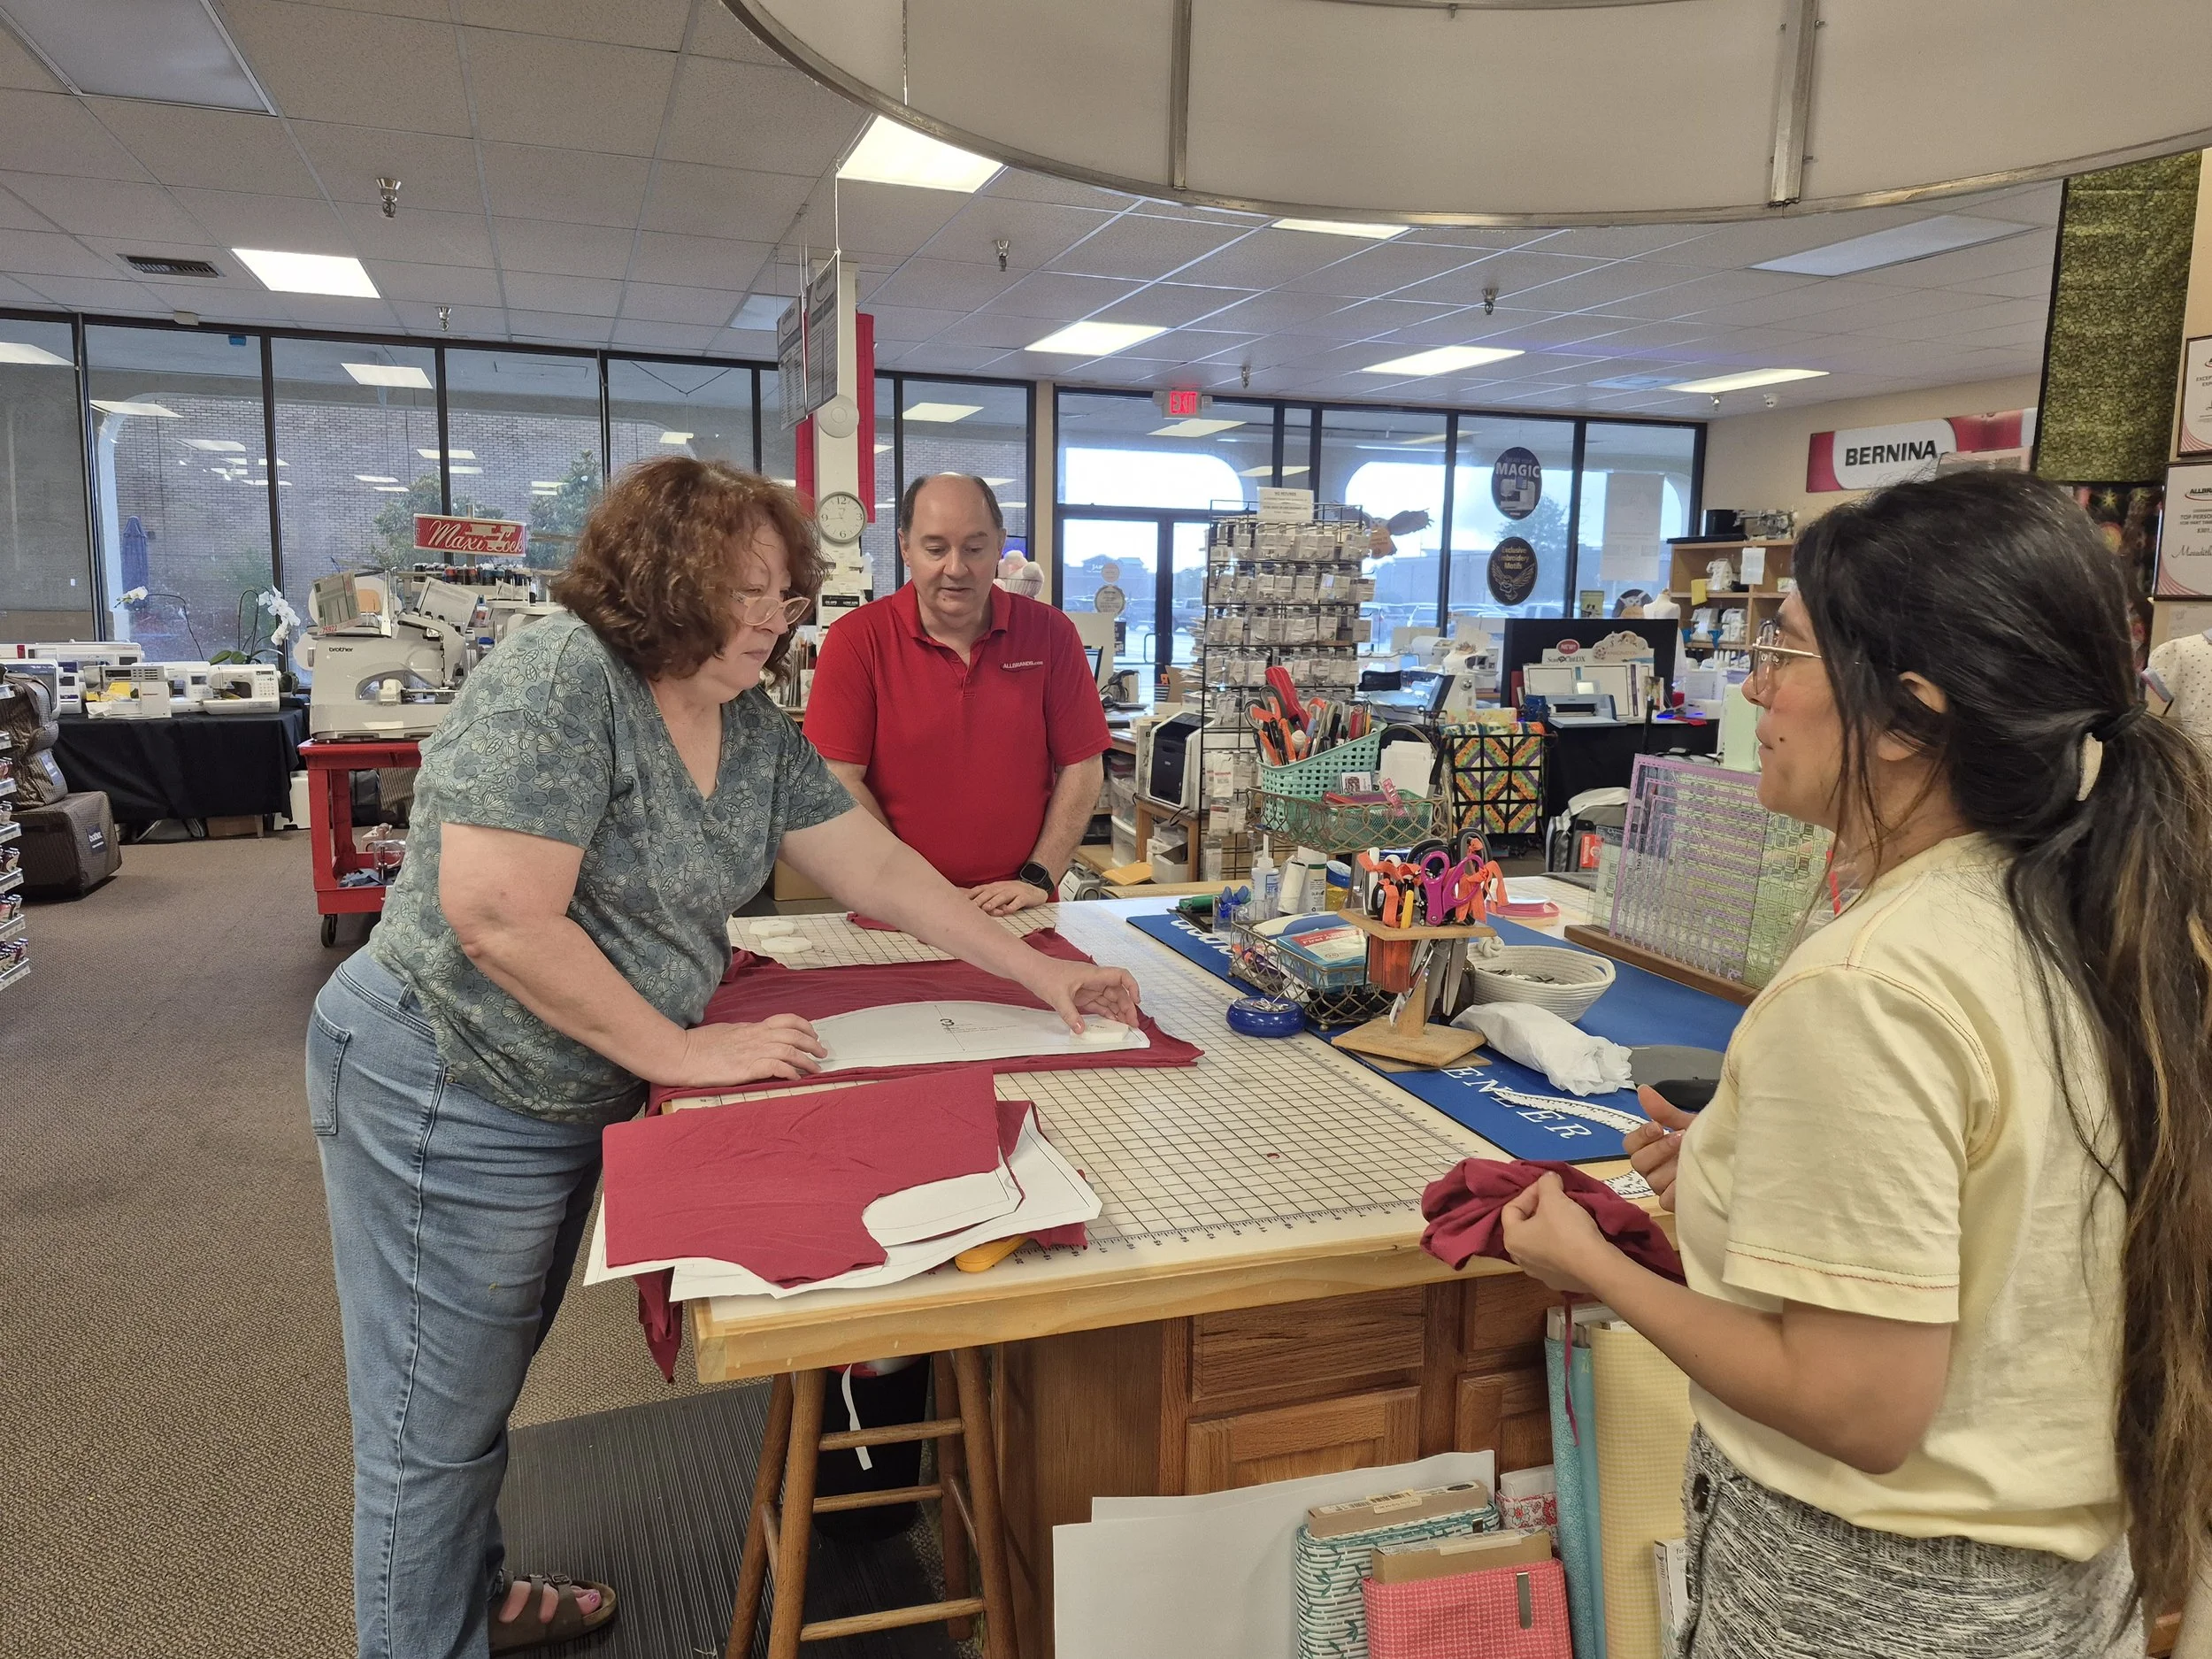
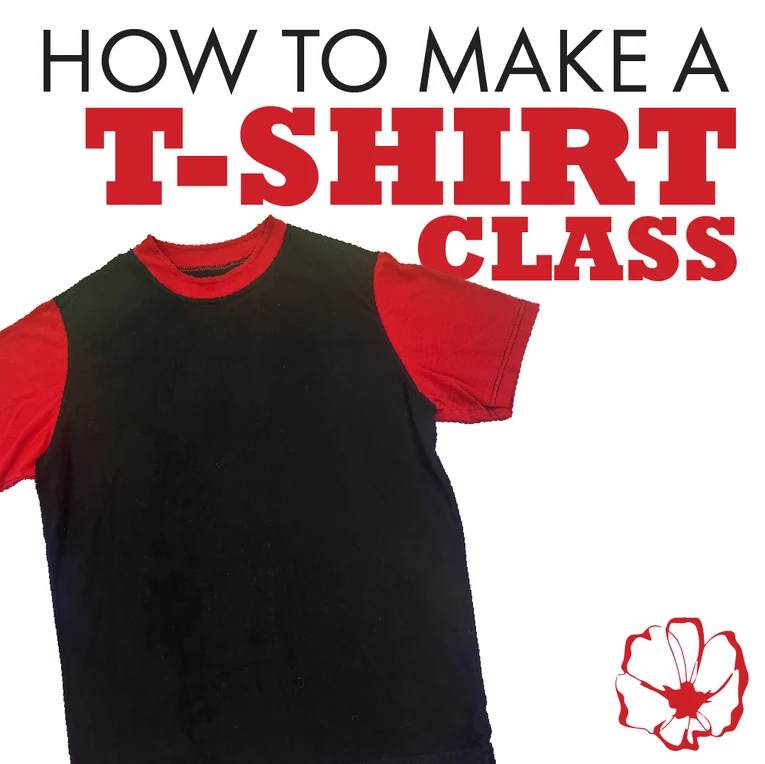
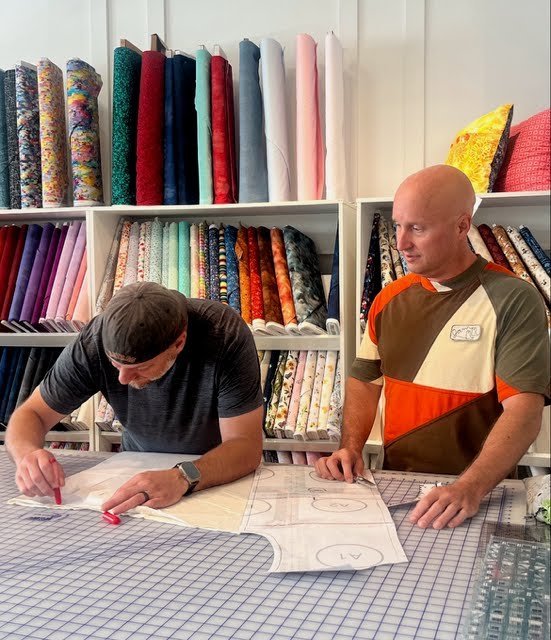
Make your own custom tailored t-shirt designed to fit your body. We’ll take measurements, draft & print your pattern and cut the fabric. Then we’ll sew it together and you’ll walk out wearing your new creation. All materials are supplied, just sign up and you’re all set. Want this workshop in your area? I’m open to travel, just contact me.
You’ll learn to:
Use the site freesewing.org to draft custom patterns using this template
Use a serger to create stretchable straight and curved seams
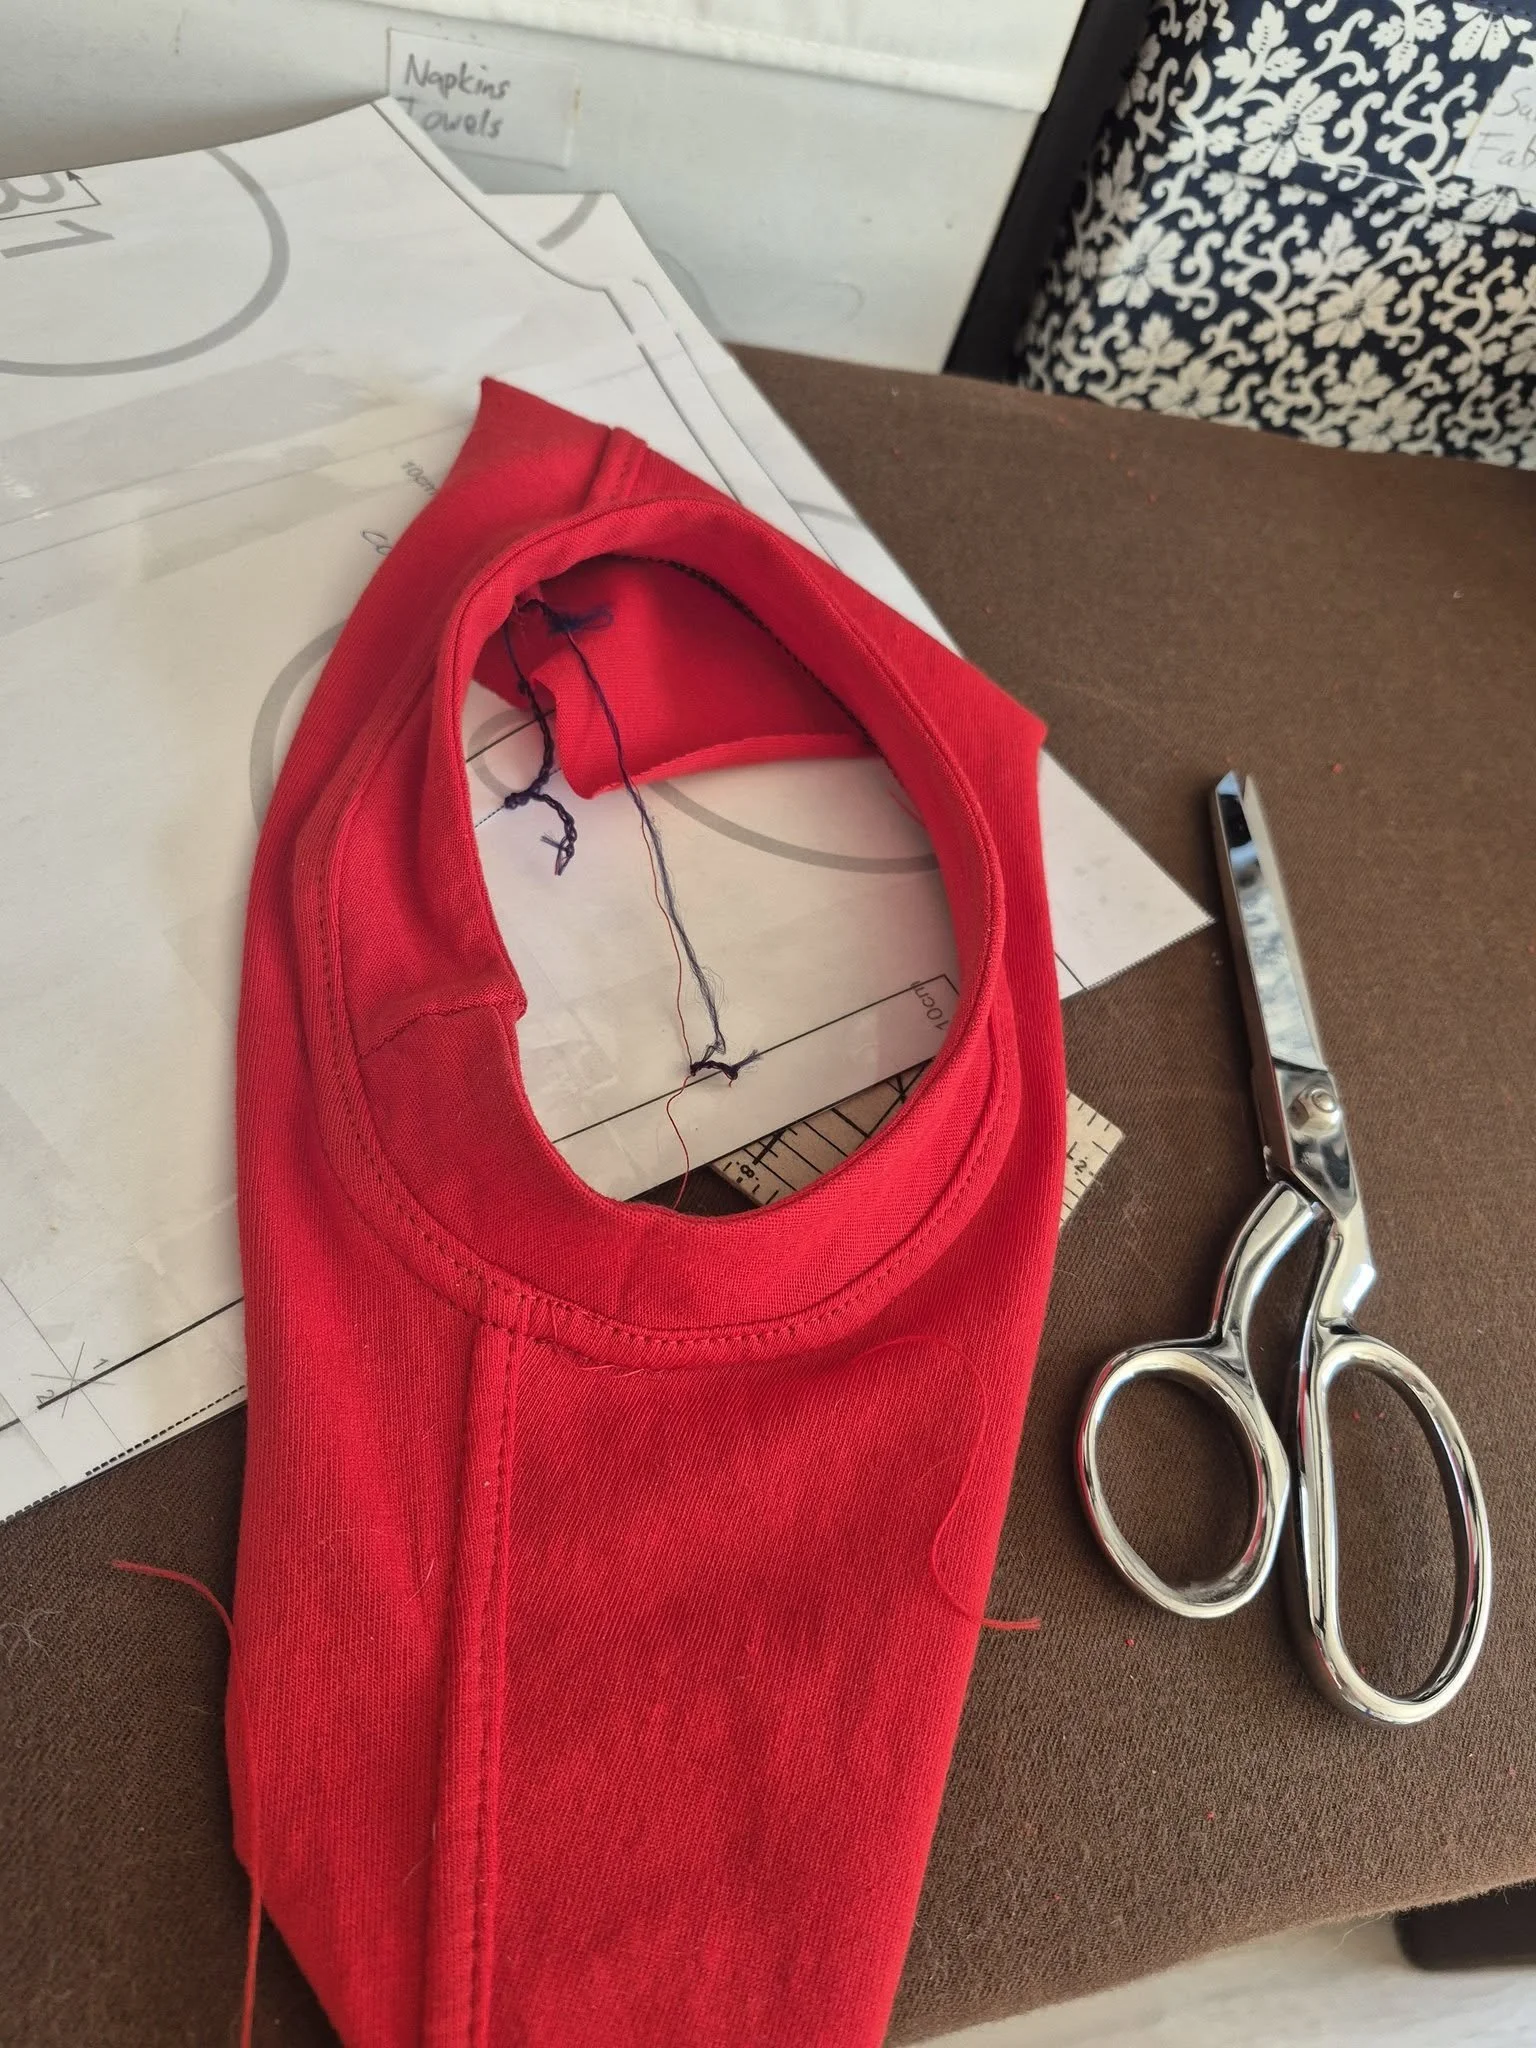
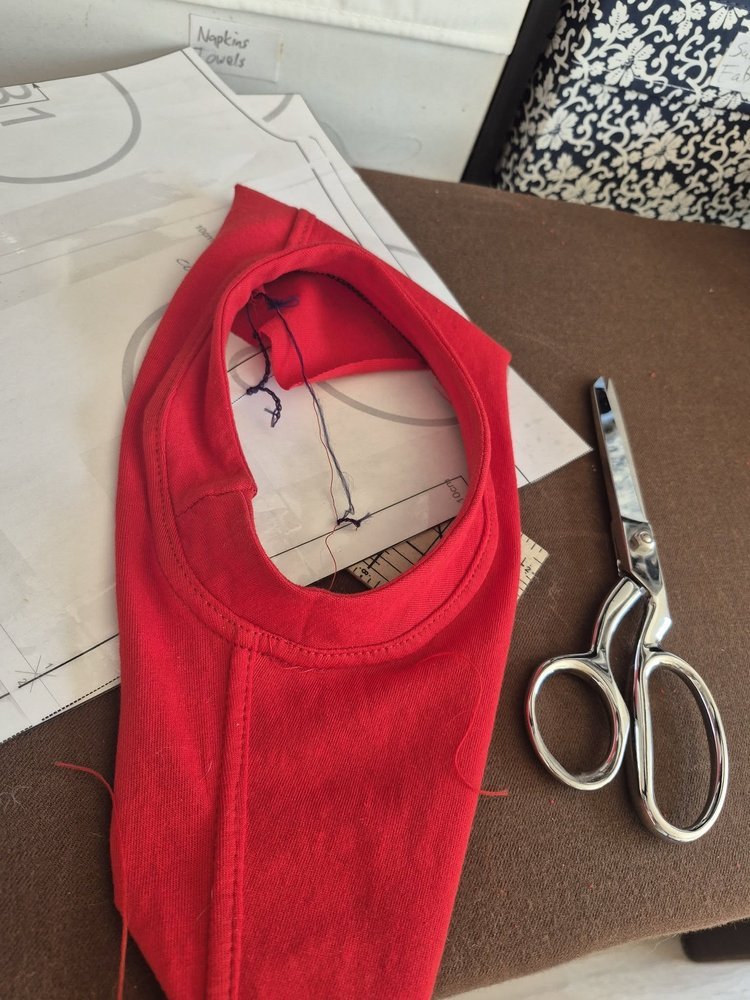
Sew our signature curved collar pattern without the need for separate ribbing (or try this prototype interactive collar maker)
Use a cover stitch to create stretchable hems
Analyze the fit of the t-shirt for future enhancements
Each student will get a t-shirt sewing booklet. All supplies will be provided.
We will provide organic Texas grown jersey knit in multiple colors, matching thread and everything else needed for constructing your t-shirt.
Available formats: individual or group, adult or child/teen. Book using any of the links below, or learn how to make t-shirts on our cruise February 14-21, 2027 from Galveston, TX.
TESTIMONIALS
“I had a great time and learned a lot. Thank you for the class and your patient teaching.”
Denise
Lafayette, LA“I did not realize EVERYTHING was provided…You set us up for success by providing the machines and fabric. Those are variables that were controlled. I am surprised the t-shirt block fit was good.”
Nanette L.
Austin, TX
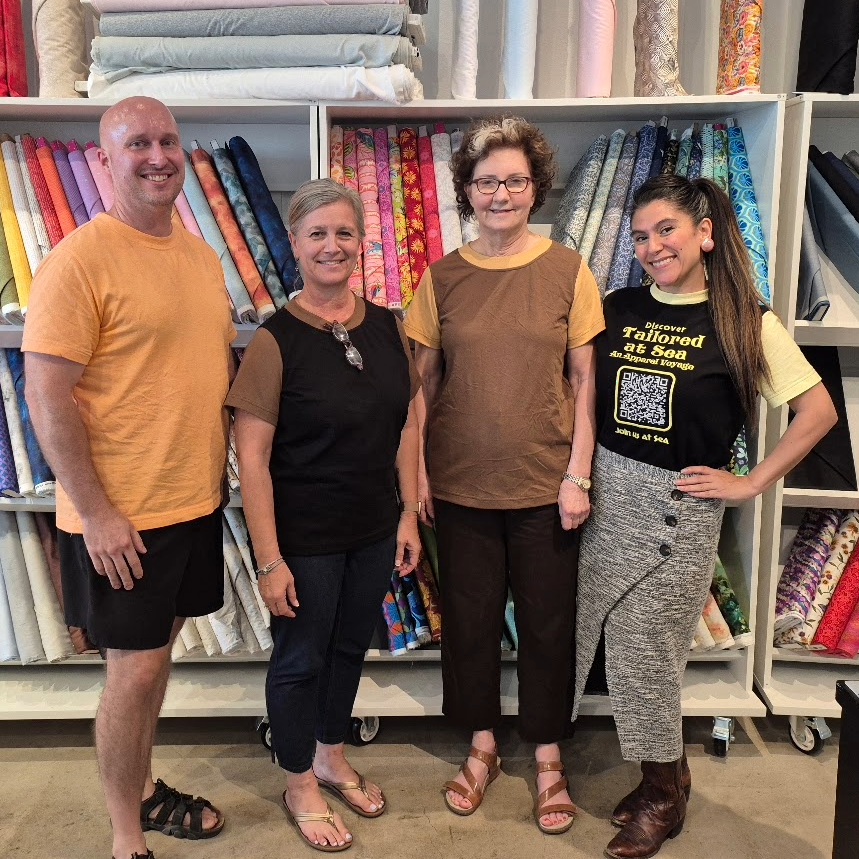
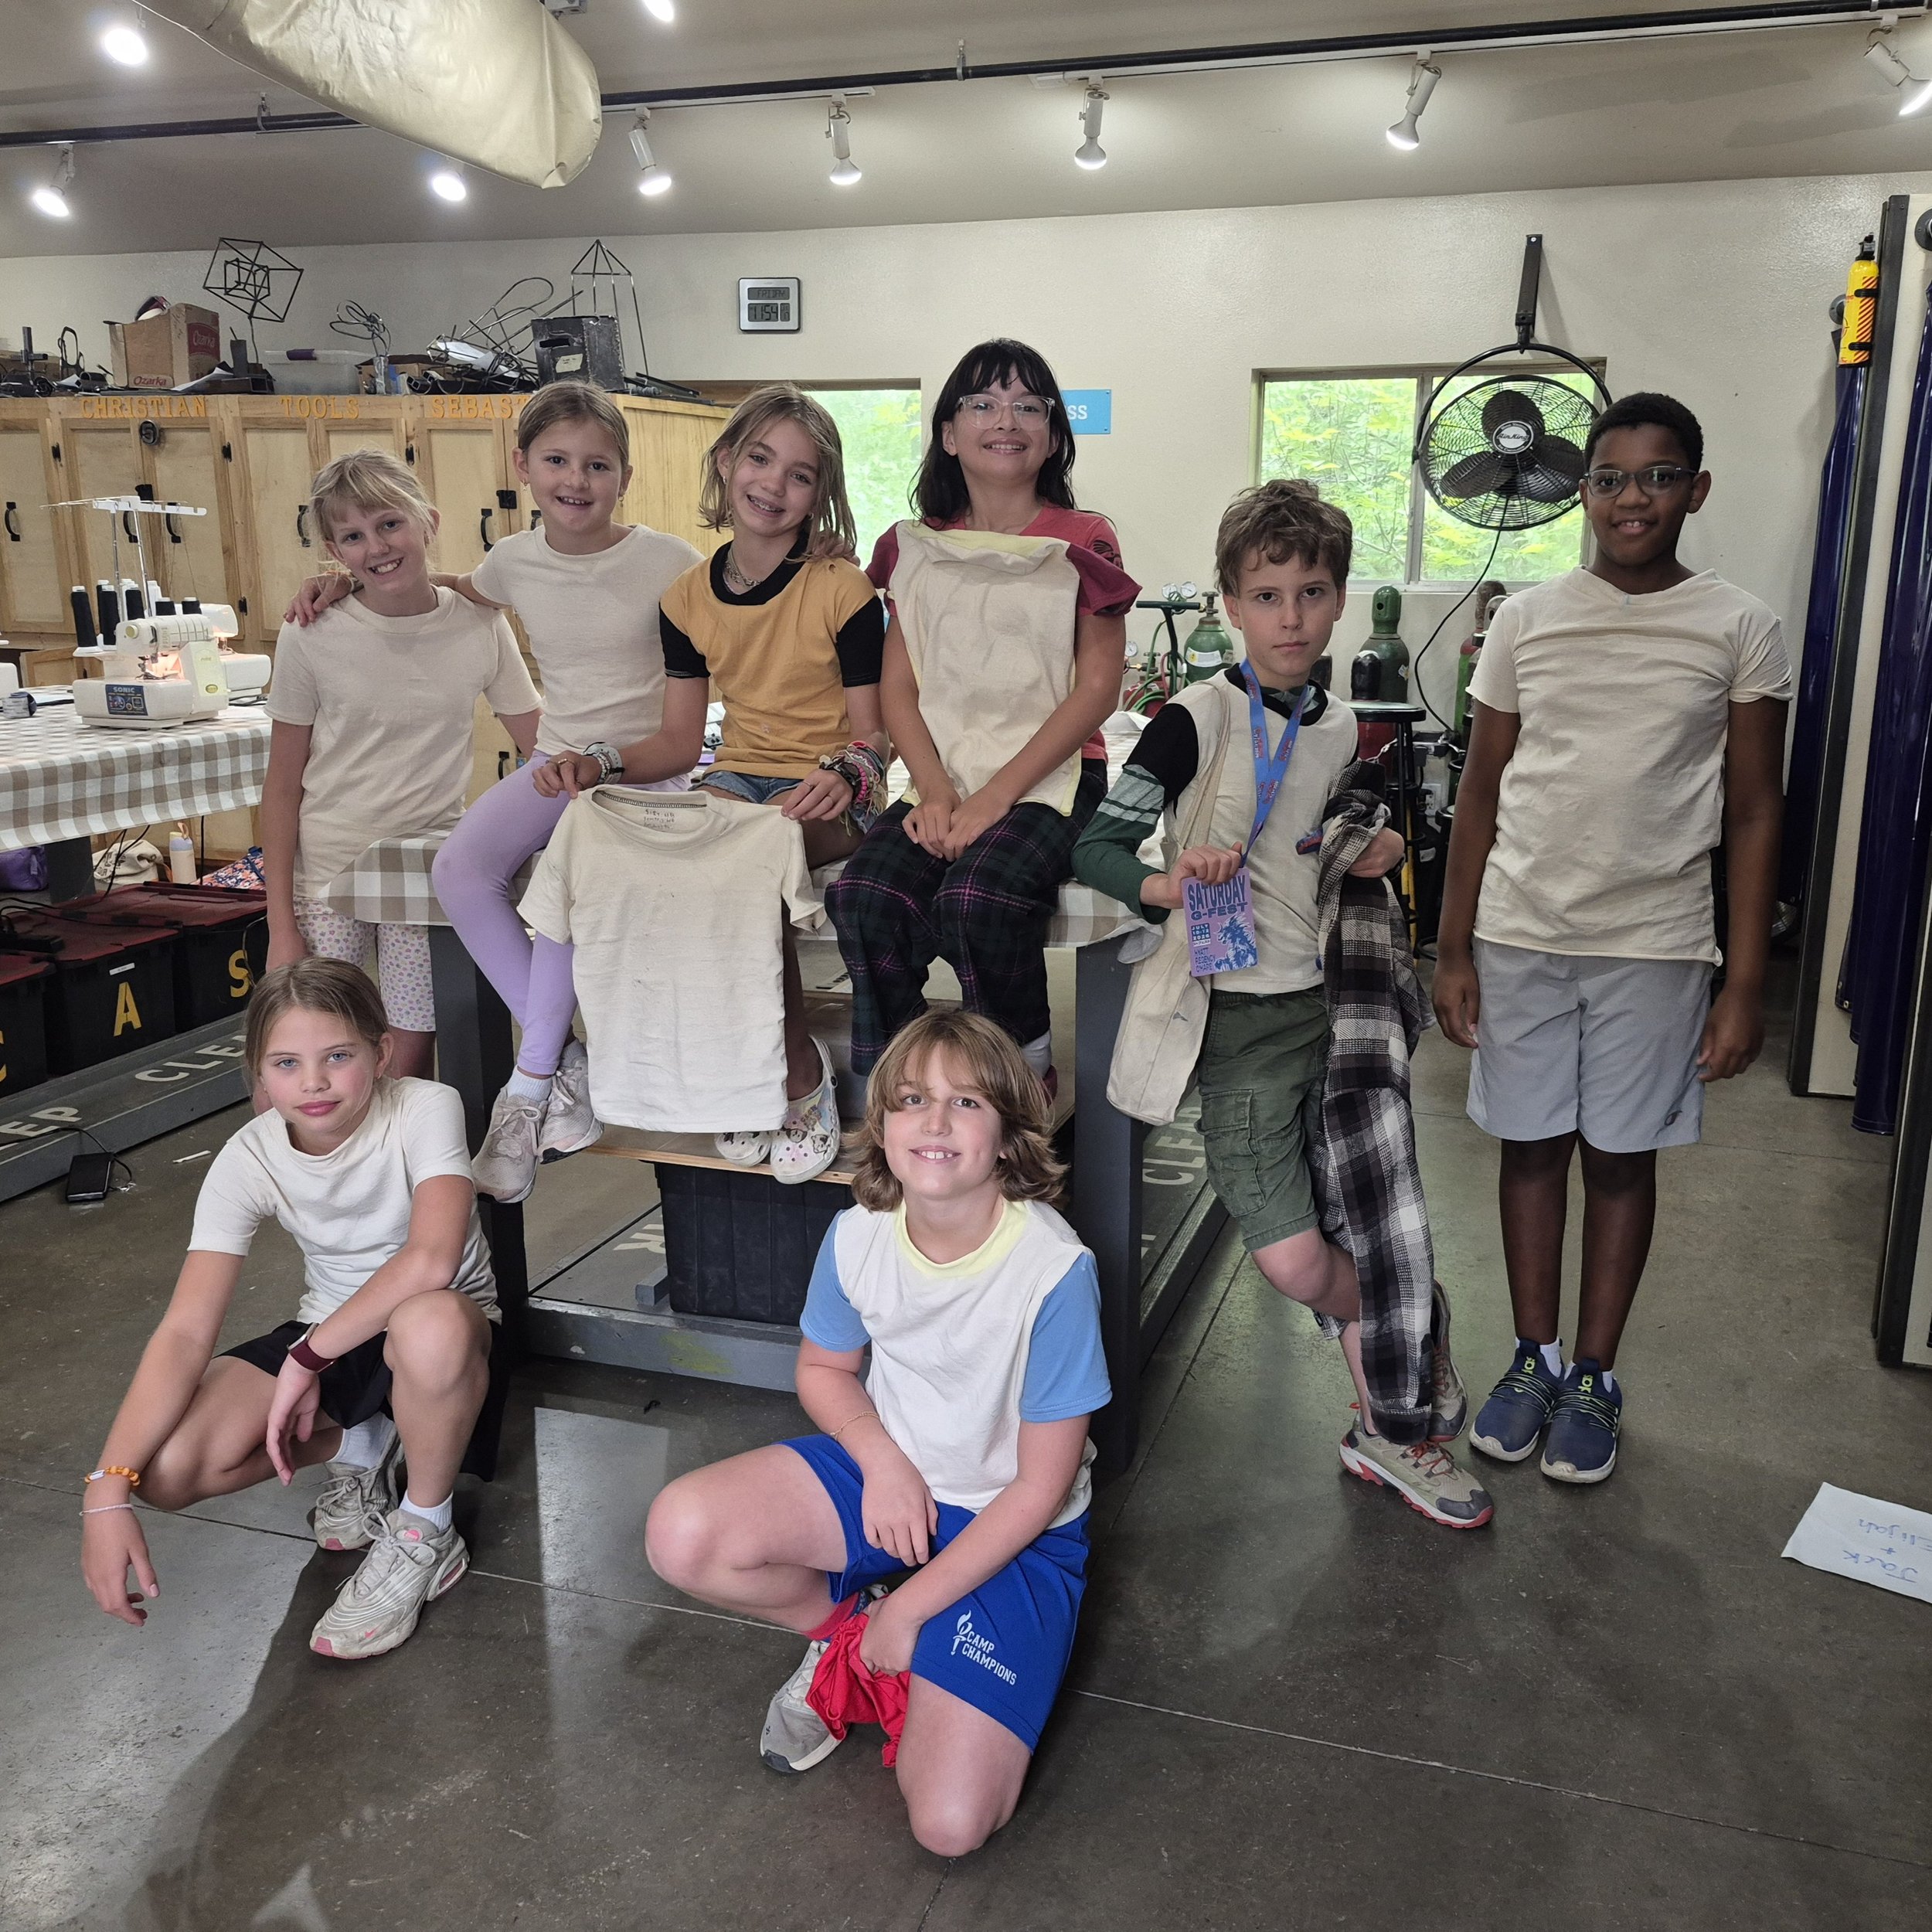
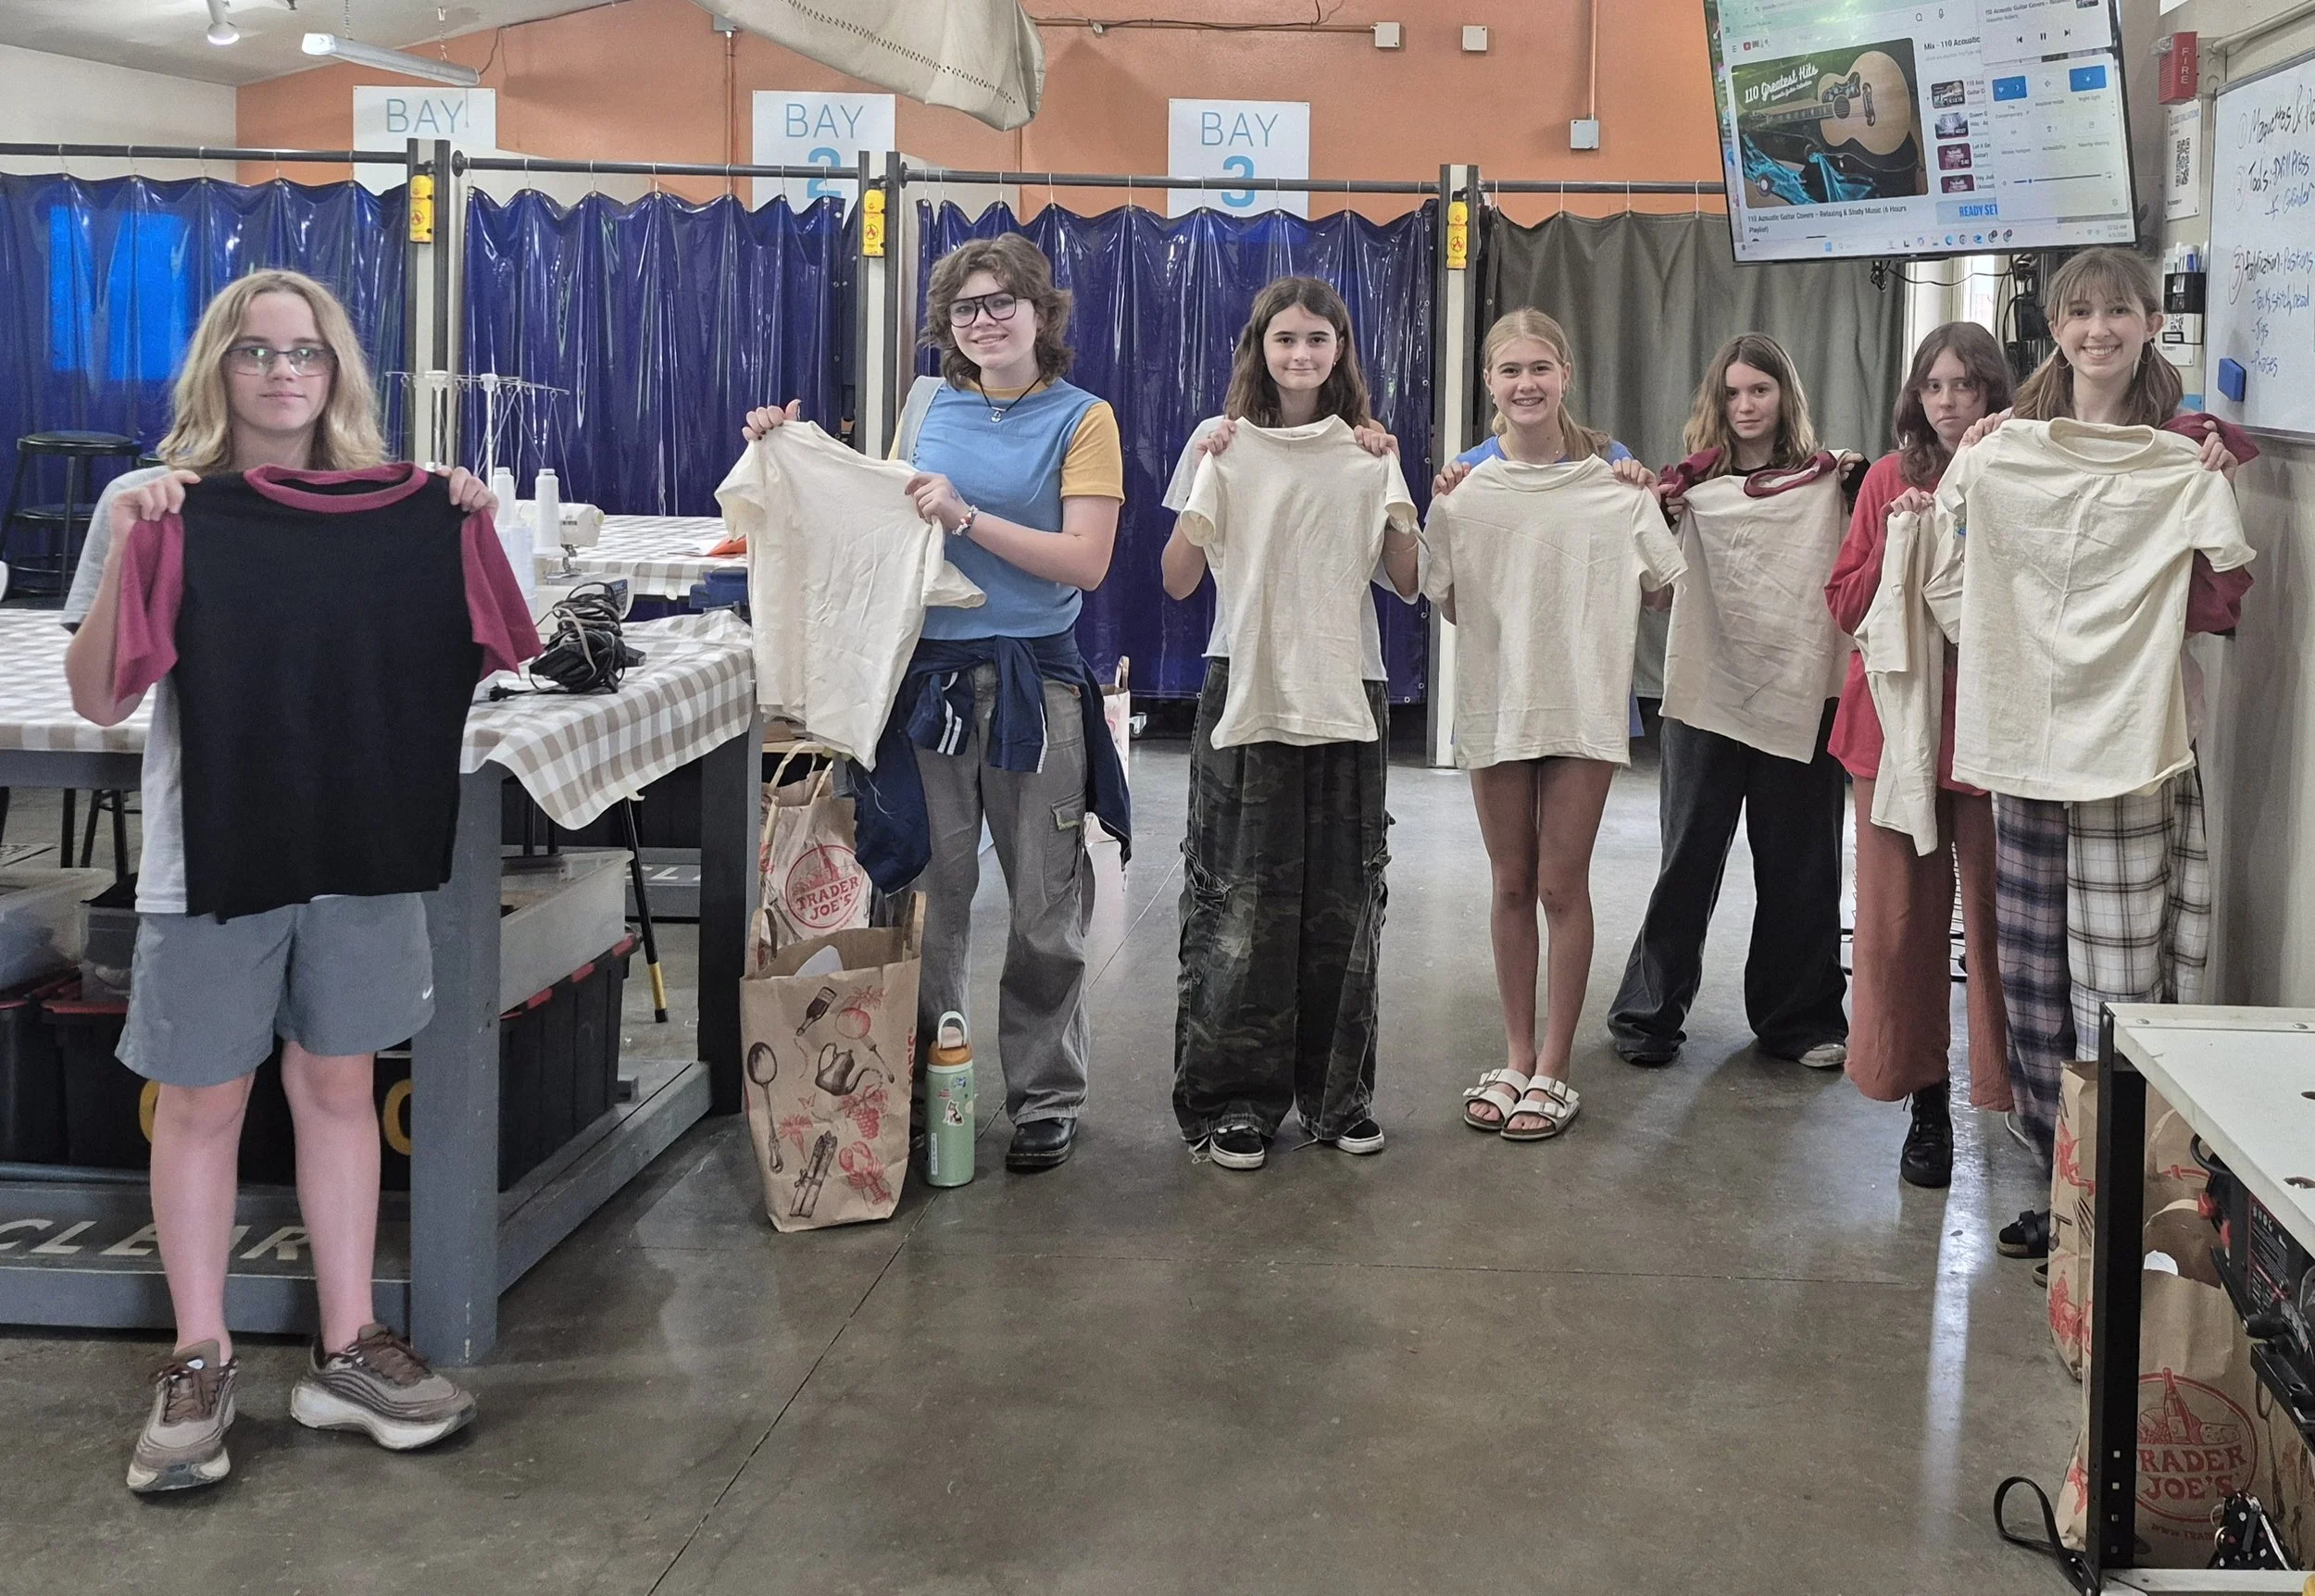
High Level T-Shirt Construction
Below is a basic high level description of how I tend to sew t-shirts. There are different types (e.g. raglan), so the construction will vary. Students get a very detailed booklet containing all steps with photos, instructions and sewing tips.
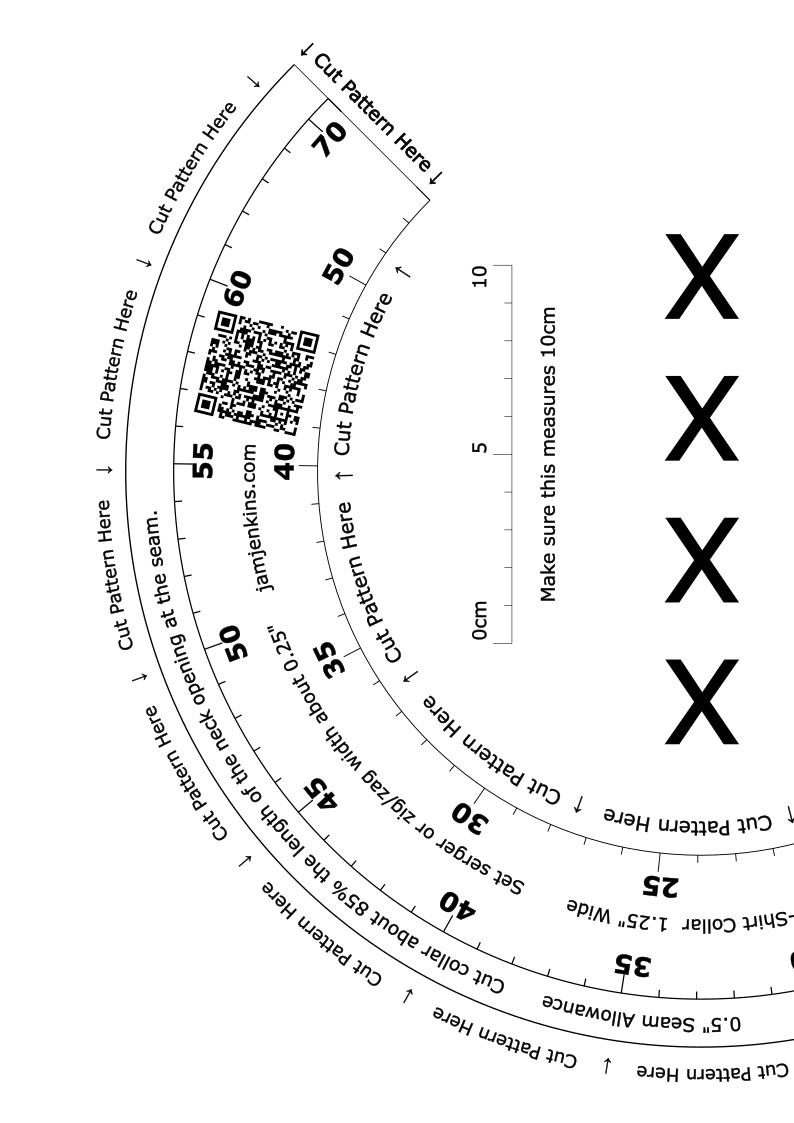
Consider this a basic outline. Some steps can be rearranged or adapted based on the desired finishes. I also use a curved collar. You can download it by clicking here, or try this prototype interactive collar maker.
-
I tend to use seam allowances large enough that I can simply cut off the clipped together fabric without needing to take off the clips one at a time while sewing.
-
Sew the front to the back at the shoulders.
-
Make the collar then attach it to the neck opening. The collar length should be about 85% the length of the neck opening.
I use a curved collar instead of a rectangular collar for less wavy collars.
-
Attach the sleeves to the arm scythe.
-
Attach the front and back body and sleeves along the side.
-
Hem the sleeves and bottom edge.