The Perfect Pair: Tailored Pants
TESTIMONIAL
“I enjoyed all the technical demonstrations. They gave me the confidence to do them on my own. I now have confidence in blind hems, welt pockets, and installing a fly zipper. Jam is a very patient teacher. His technical demonstrations were great. I enjoyed expanding my sewing knowledge.”
Maria R.
Austin, TX
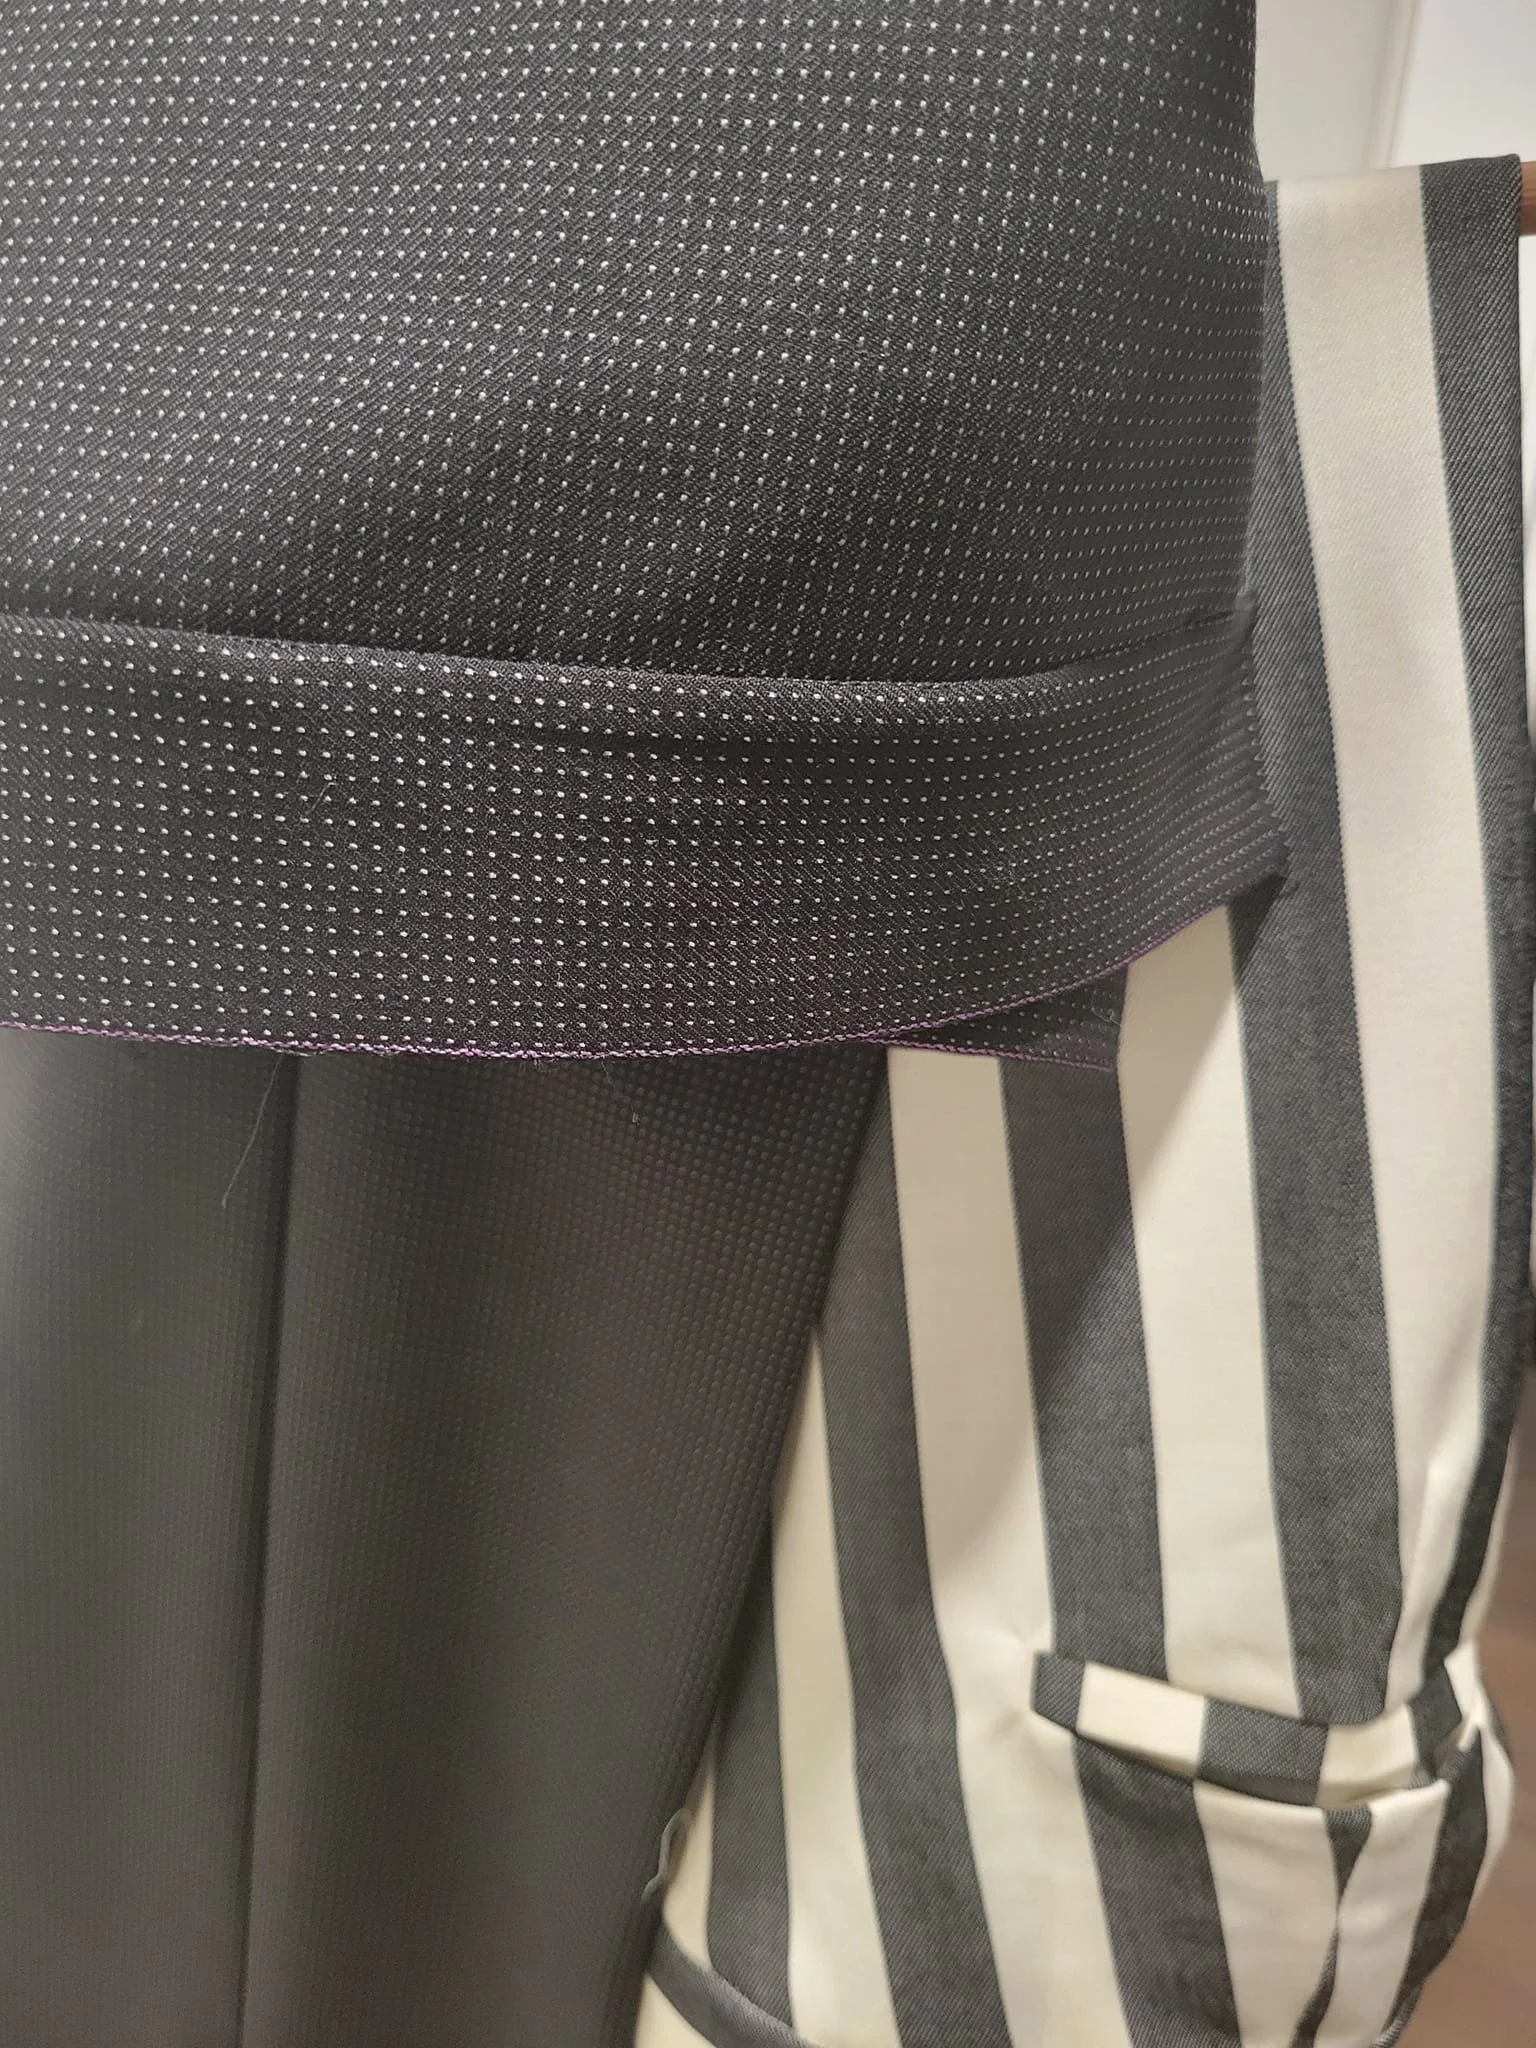
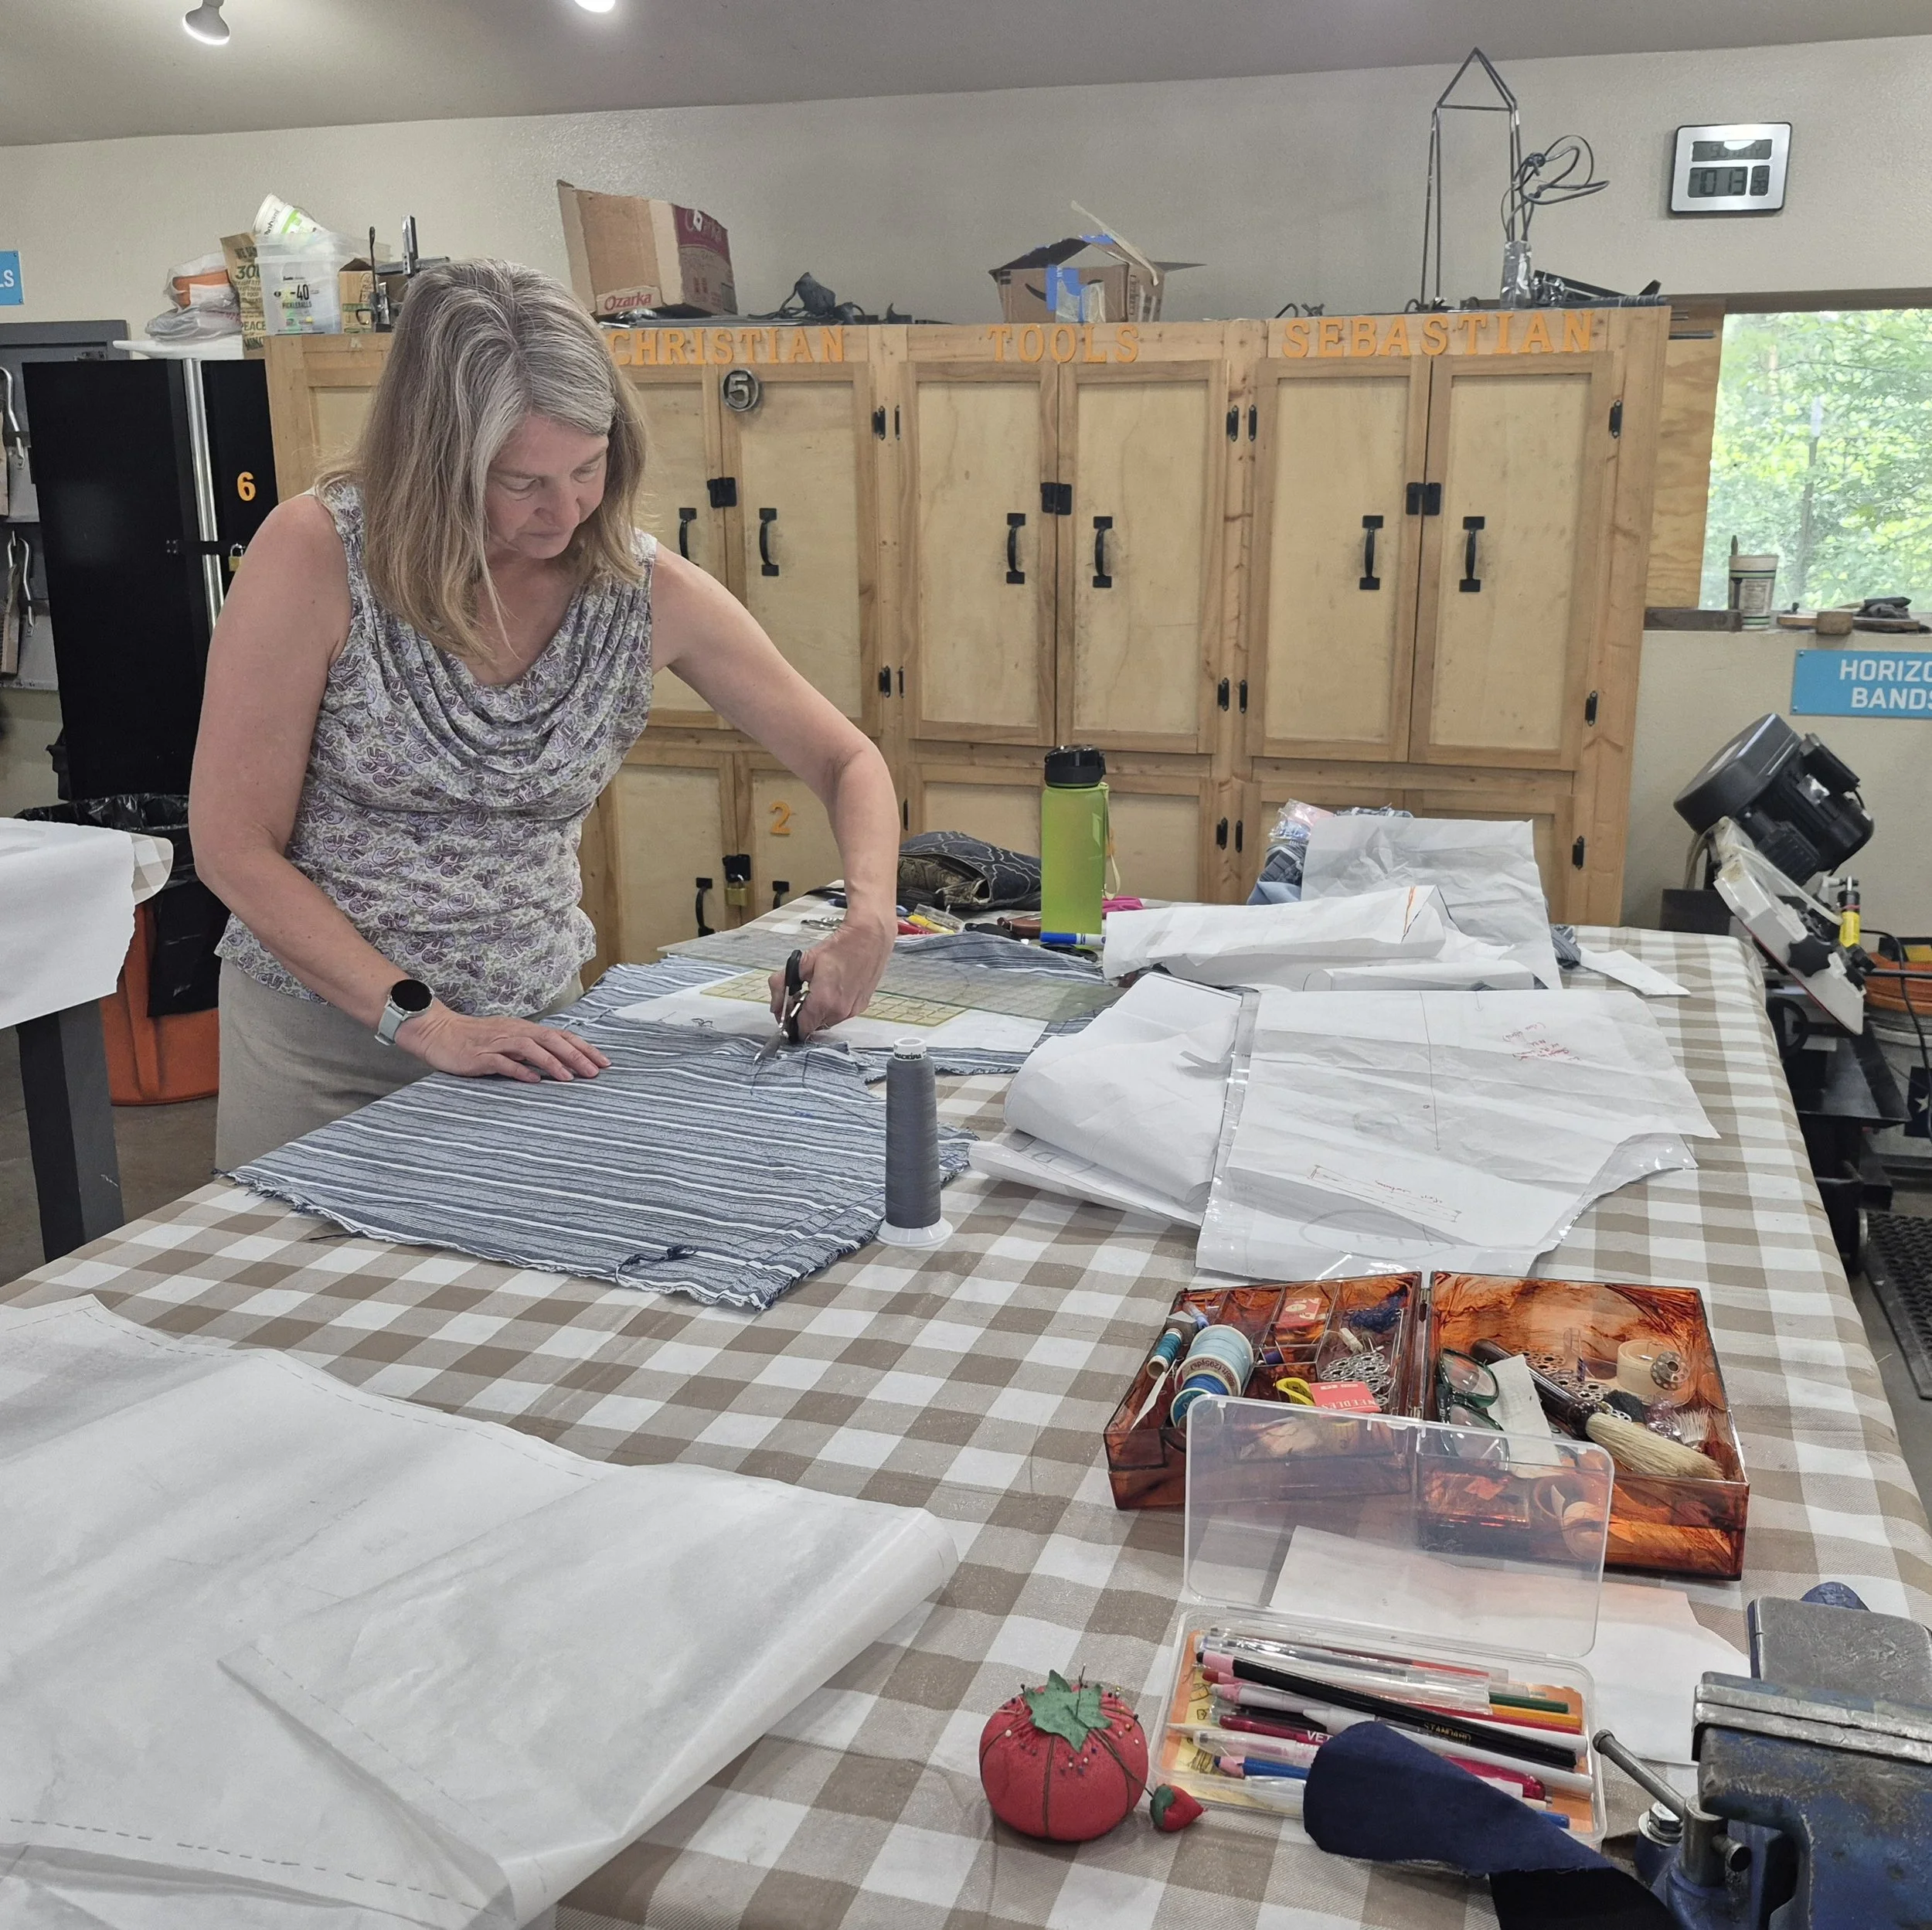
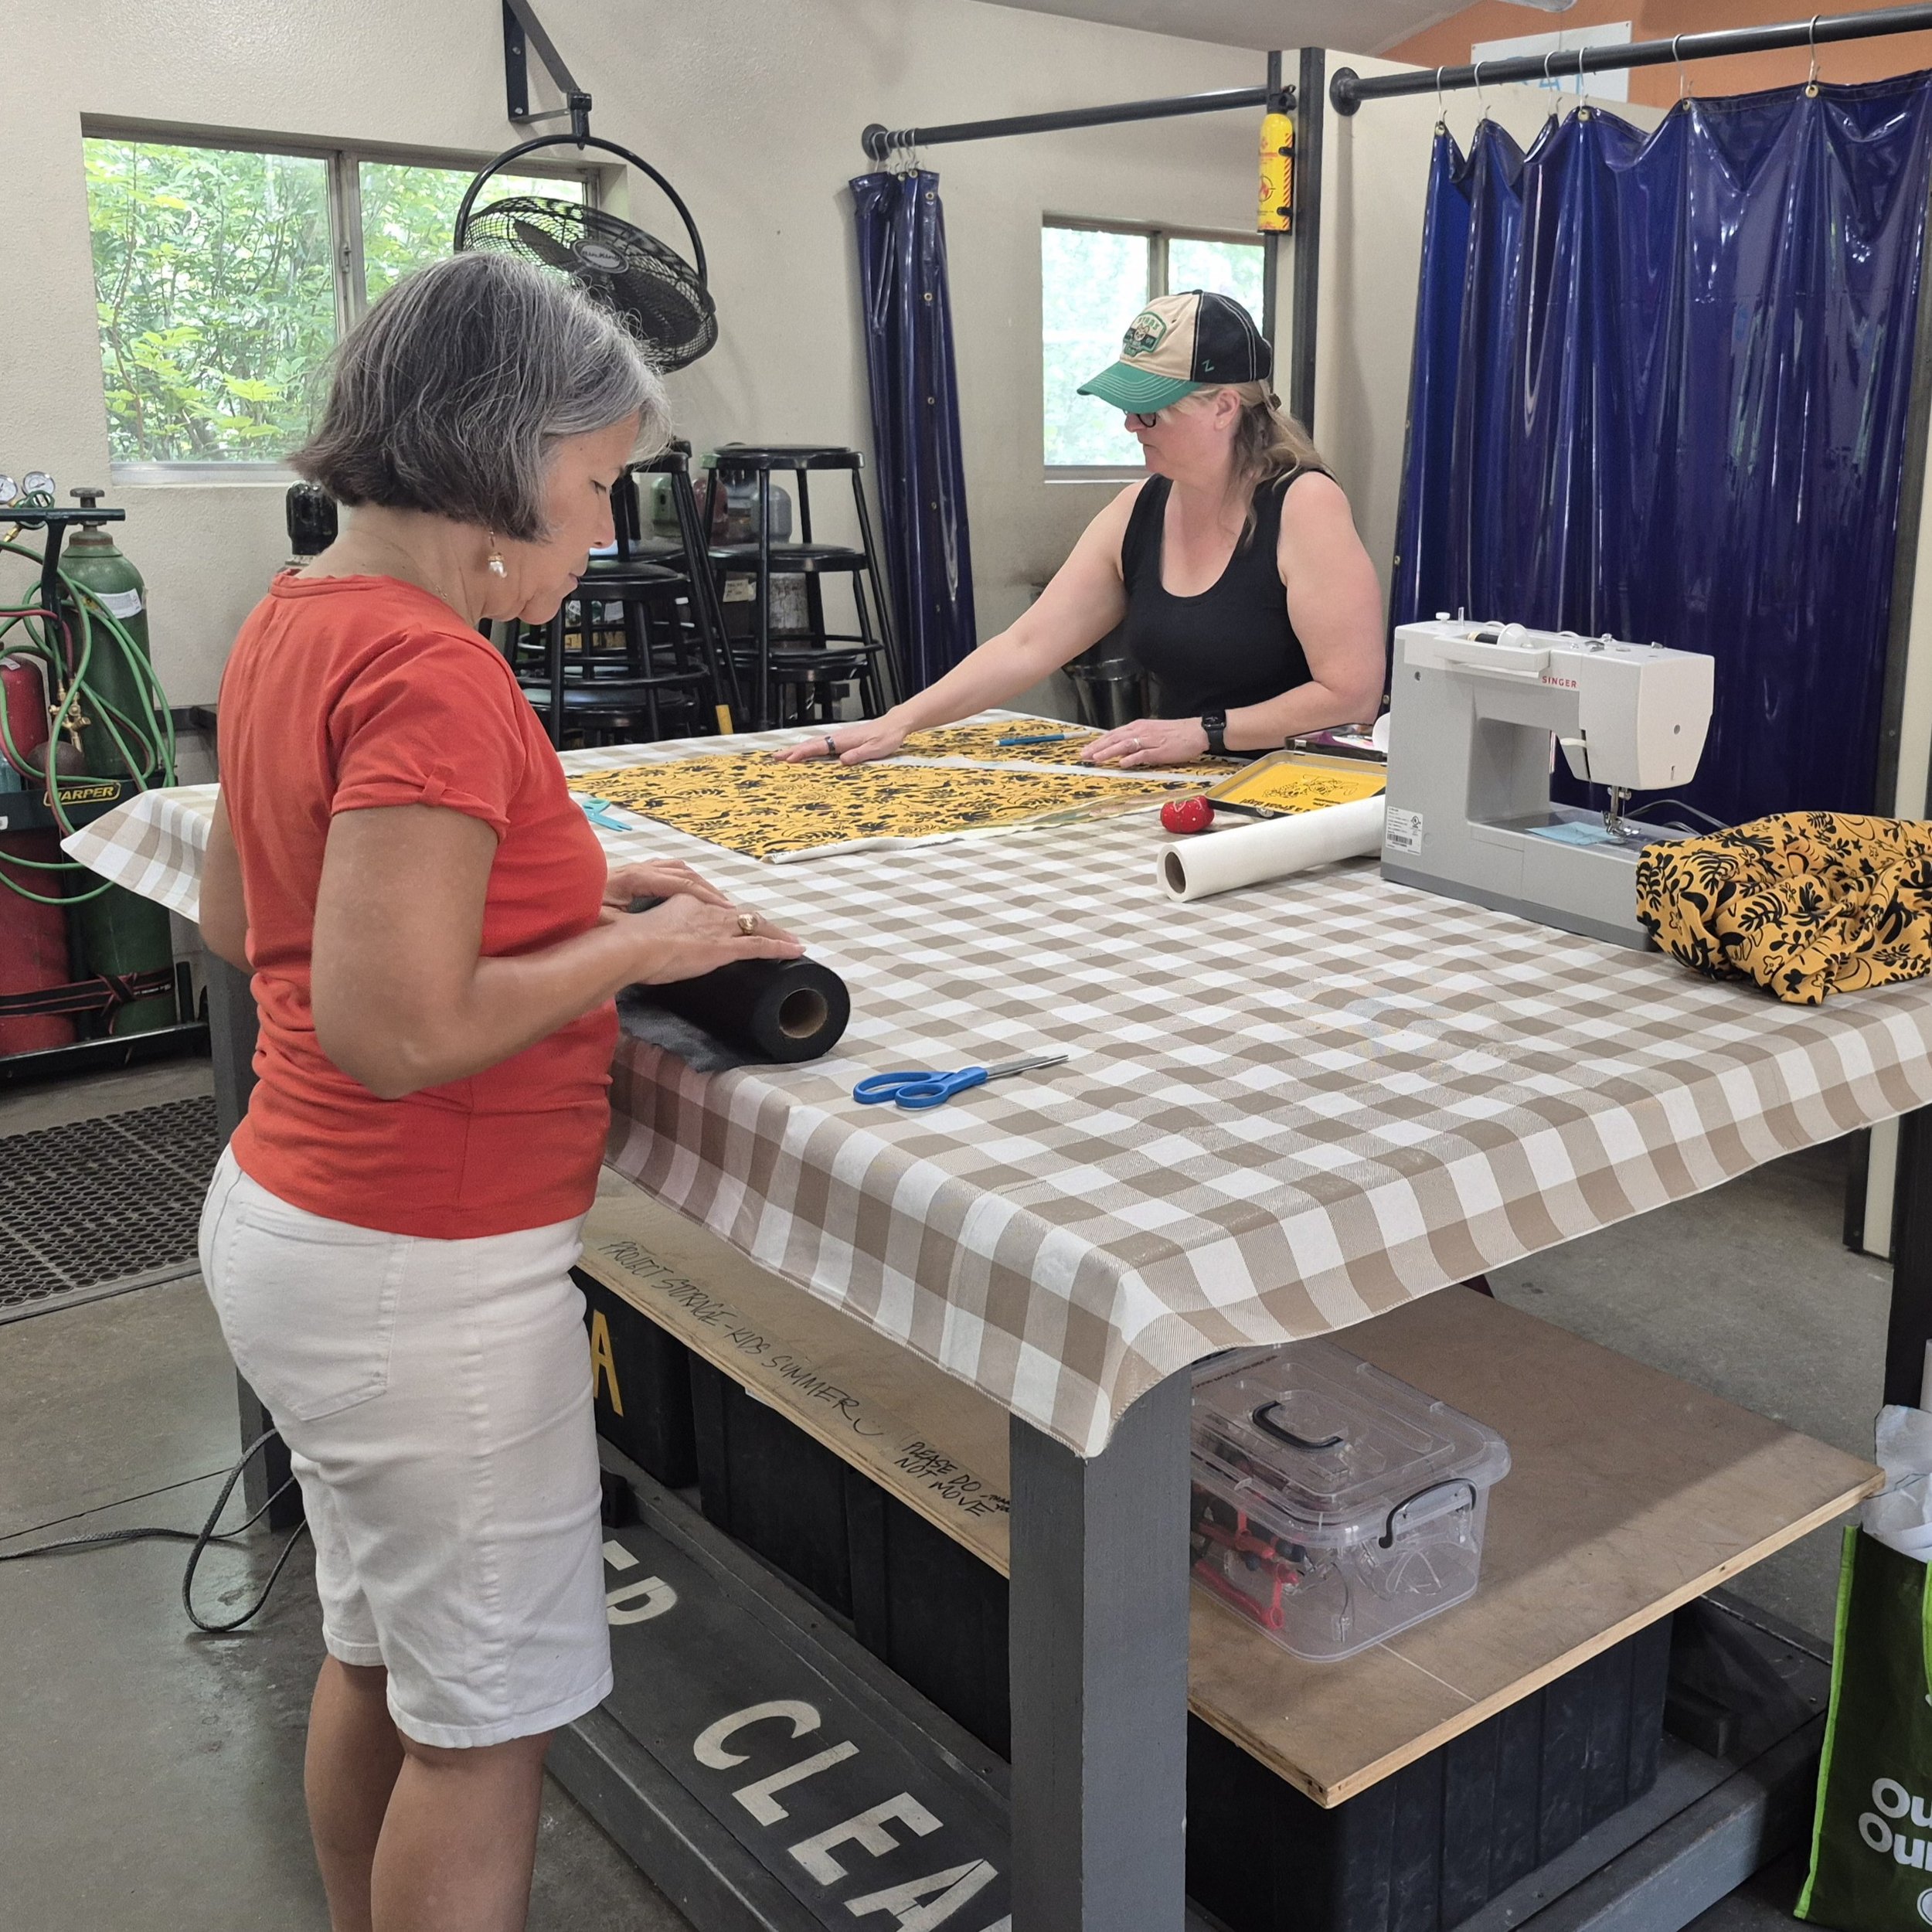
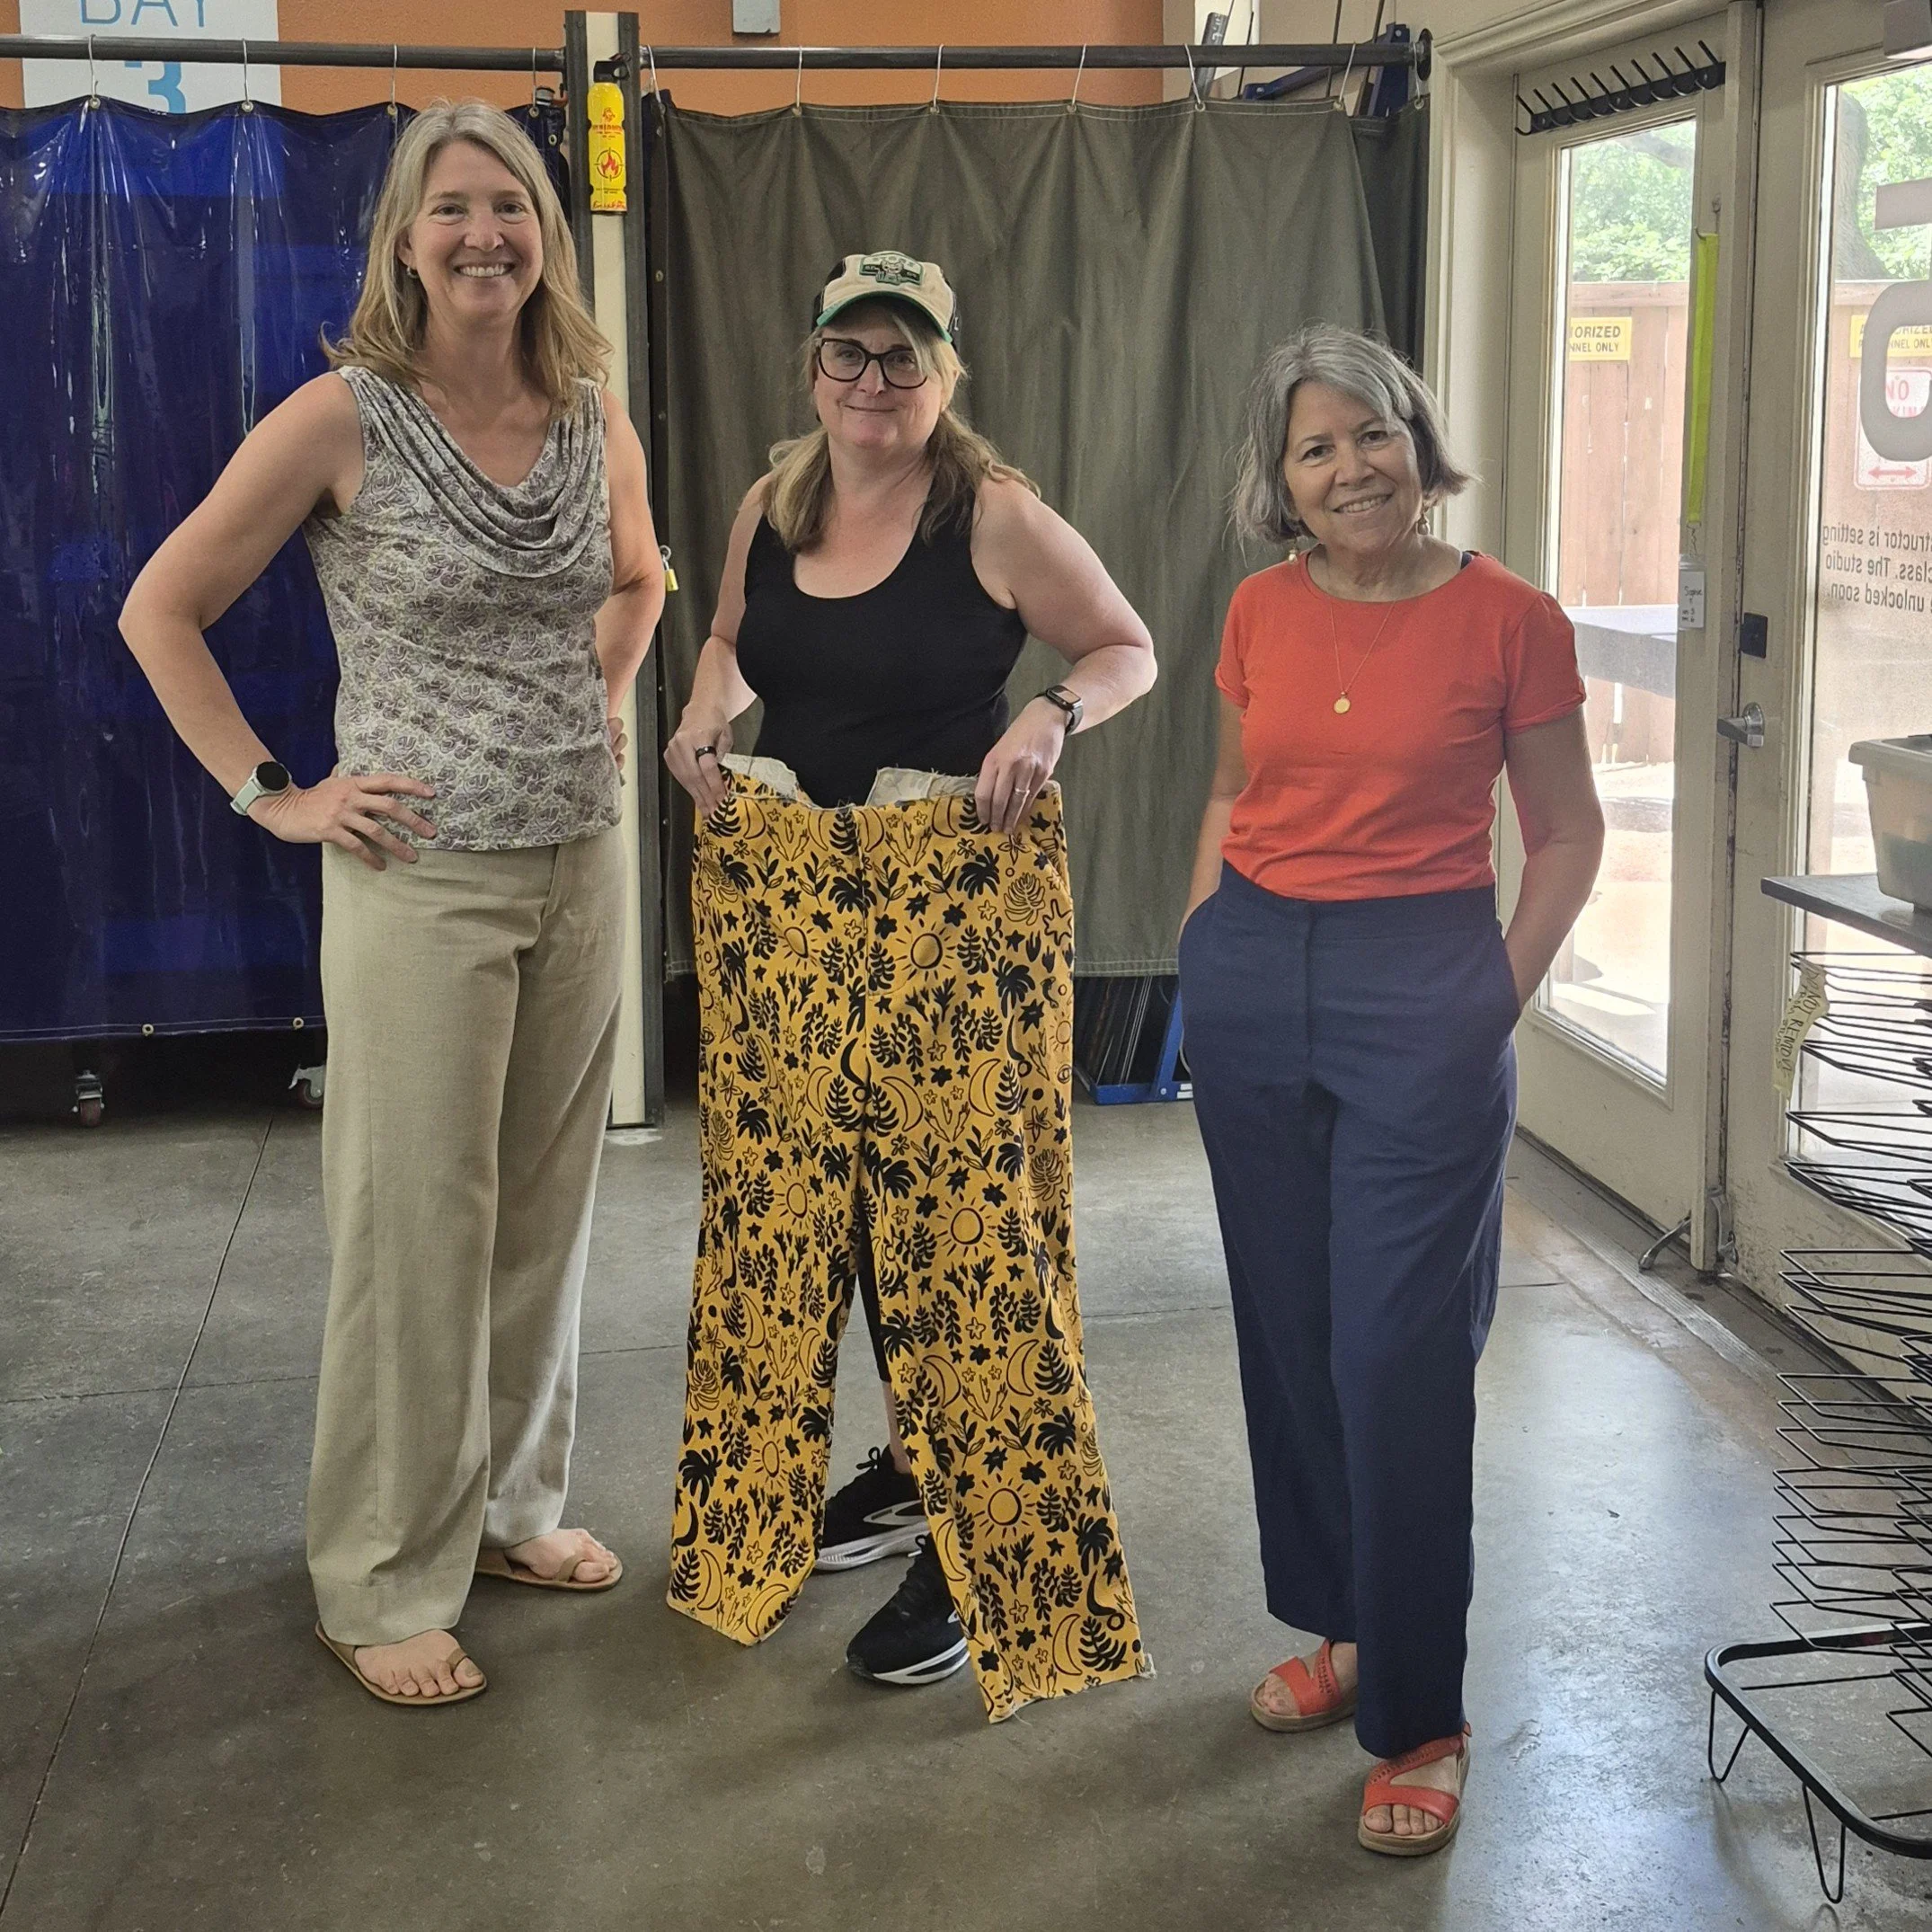
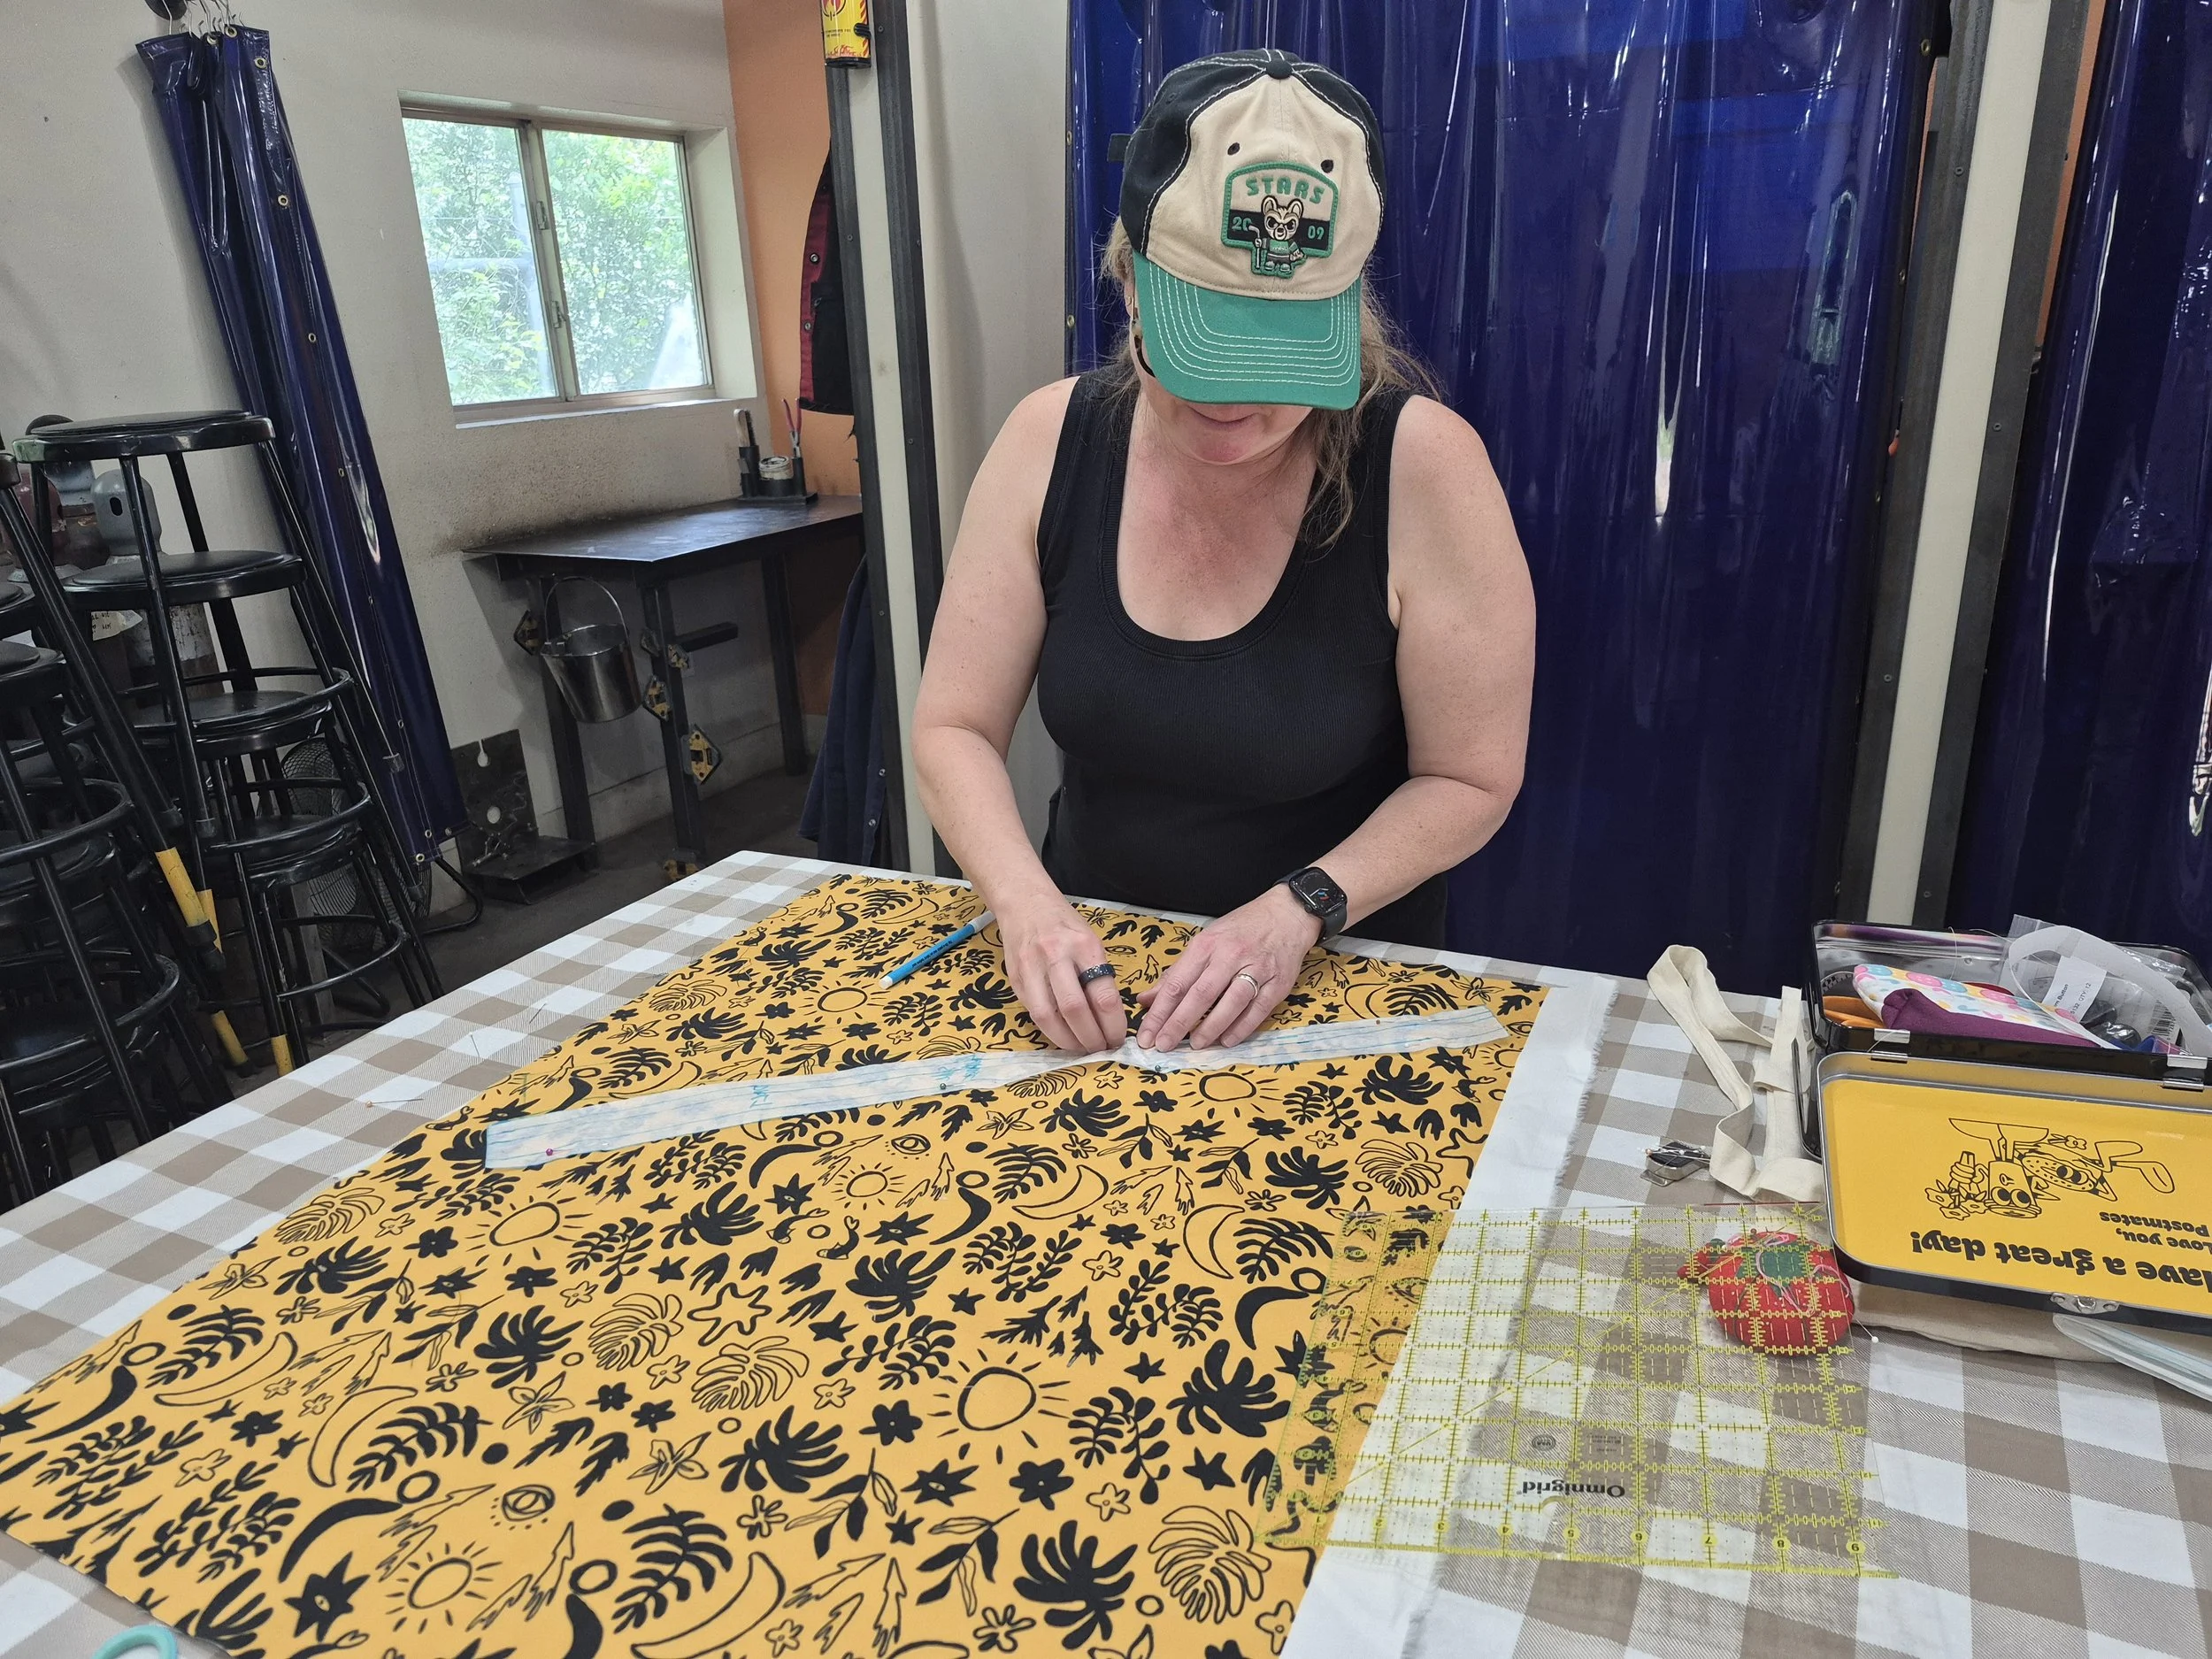
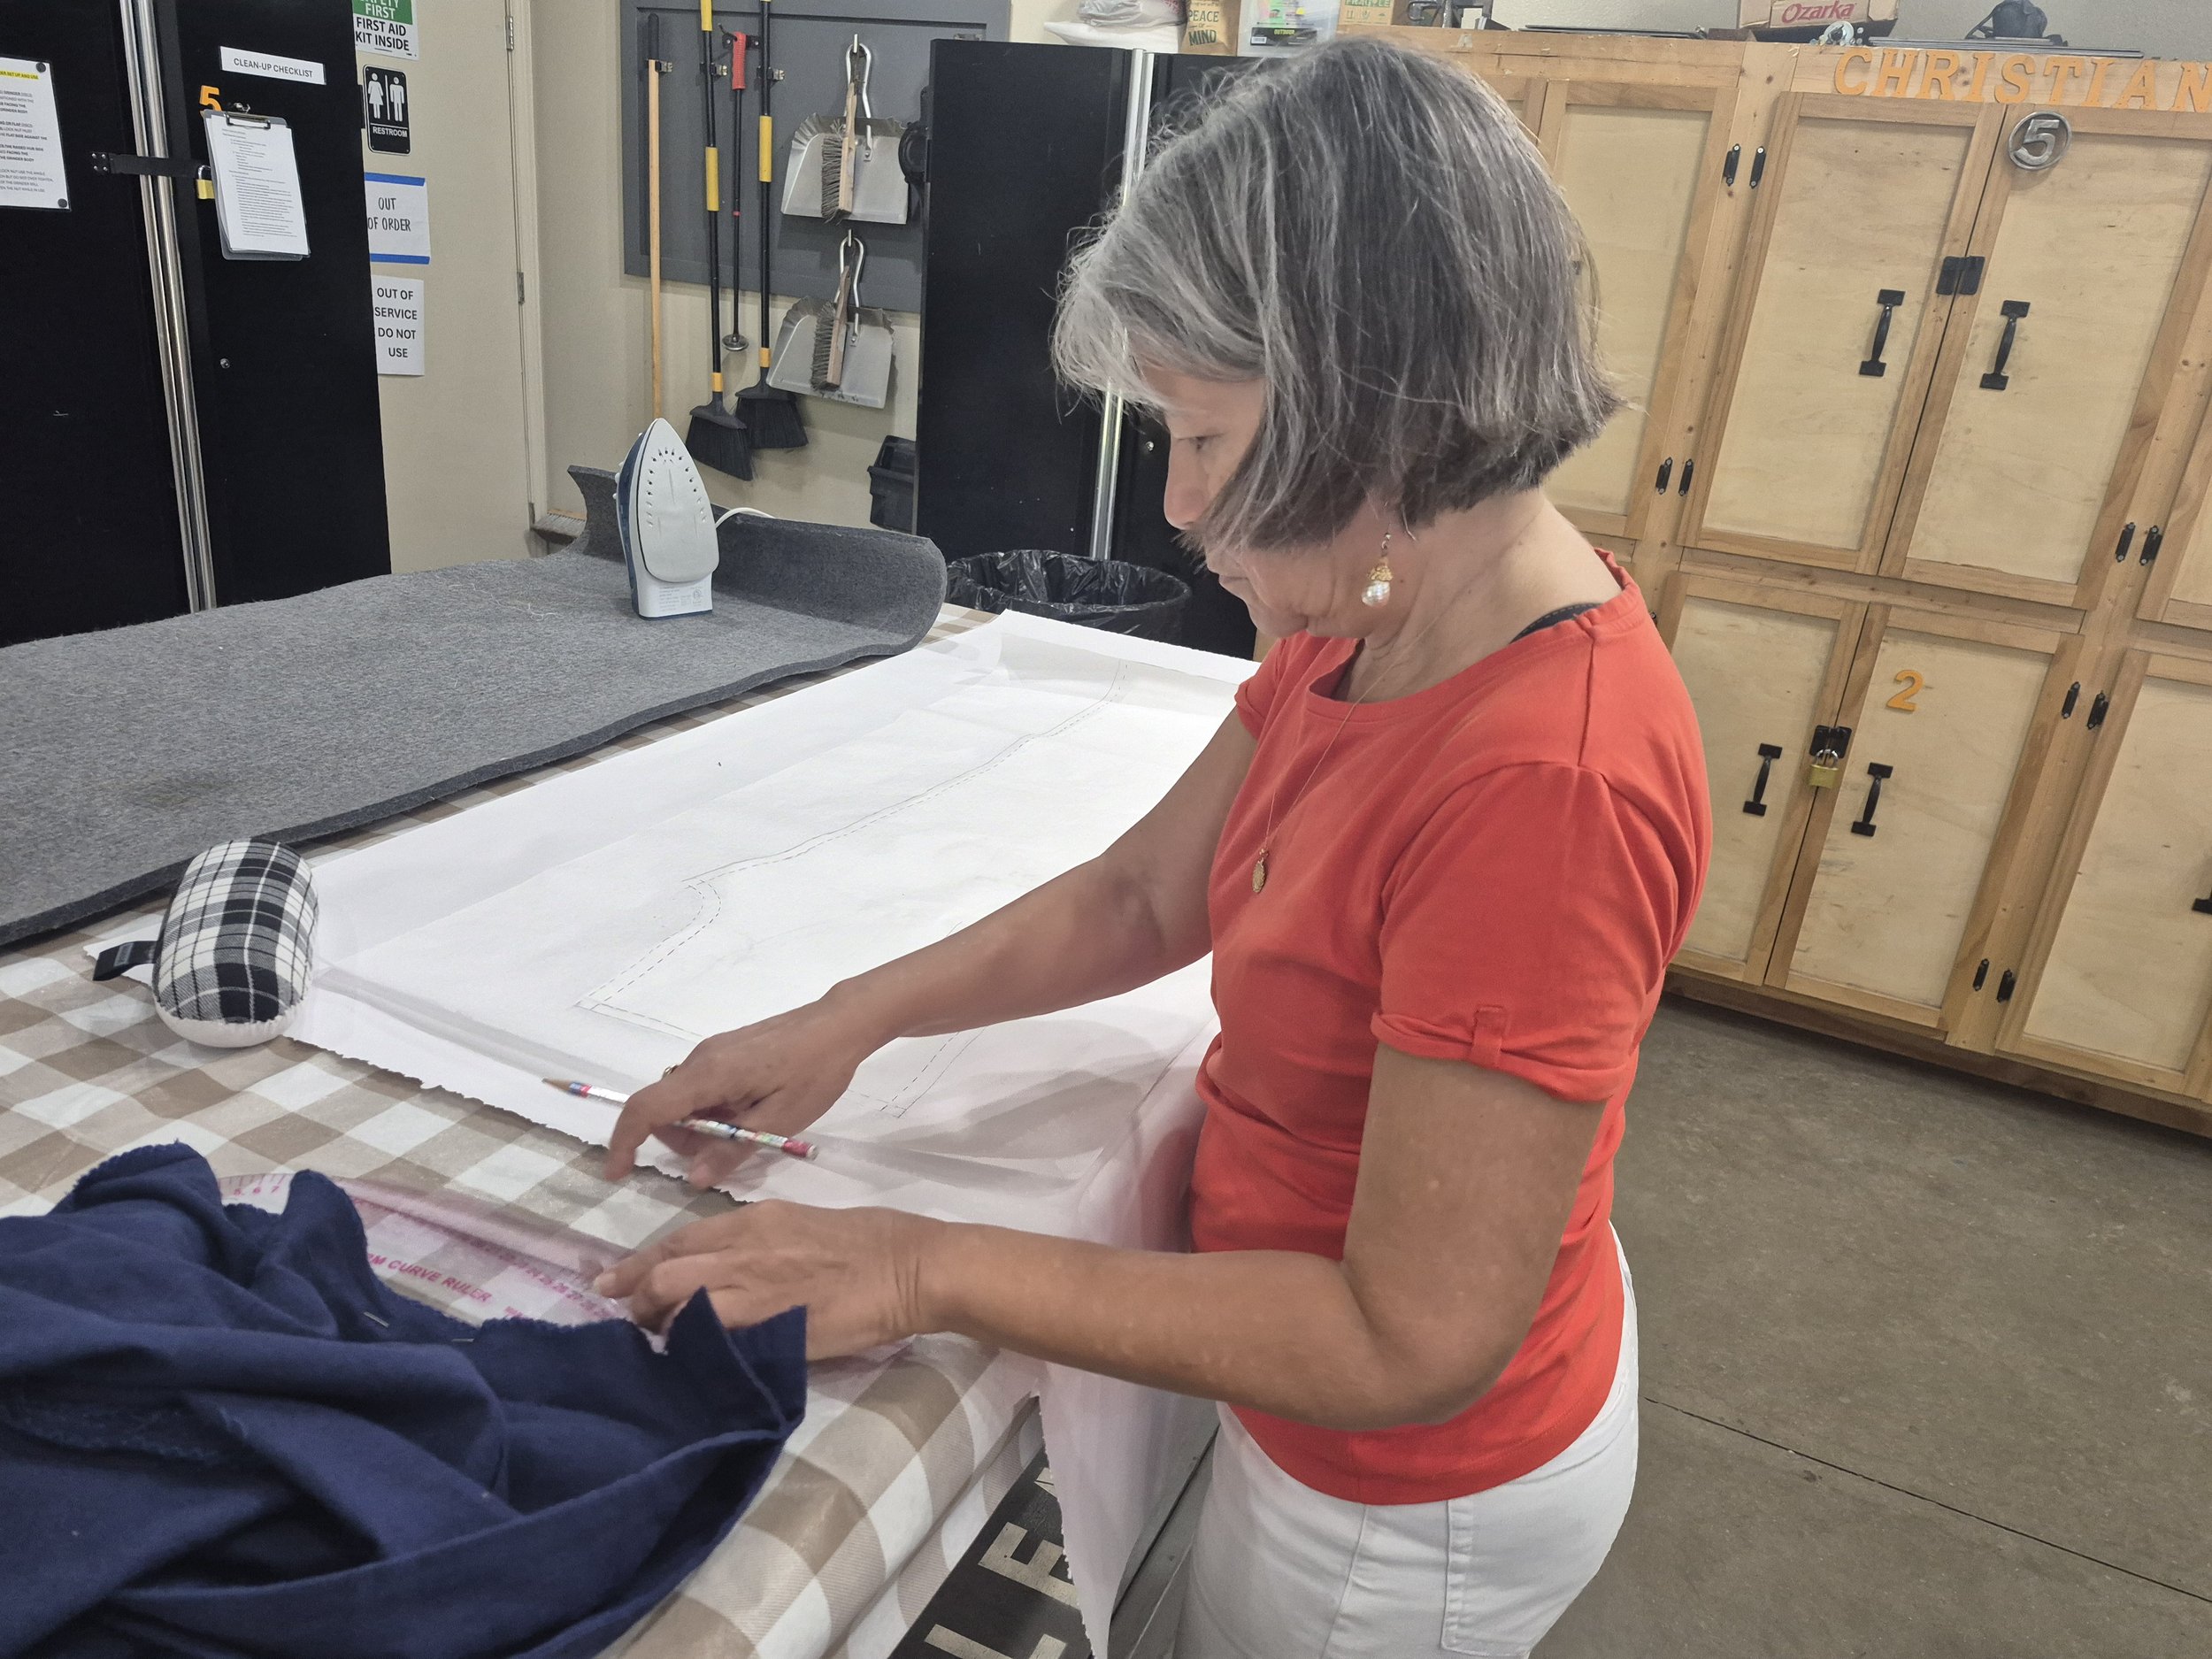
Level up your sewing skills by creating a custom-fit pair of trousers. You’ll start with muslin to perfect your fit, then move on to constructing a finished pair while refining key tailoring techniques. In this class, we’ll cover slant and welt pockets, waistbands with closures, belt loops or suspender buttons, hemming, and professional fitting methods—plus tips to elevate your overall finish. Students should bring their own sewing machine, fabric, thread, buttons, and other notions. Basic sewing skills necessary.
This course is offered at The Contemporary Austin Sundays May 24 - June 28, 2026 9am-noon, and again in October on Monday evenings (soon to be finalized). Want to learn trouser making on your own schedule? Select Let’s Sew 1:1 to schedule private lessons at That’s Sew Austin. We’re even offering some trouser lessons on our cruise February 14-21, 2027 from Galveston, TX. Want this workshop in your area? I’m open to travel, just contact me.
High Level Trousers Construction
Below is a high level description of how I tend to sew trousers. There are many different types (e.g. jeans), so the construction will vary.
Consider this a basic outline. Steps can be rearranged or adapted based on the desired finishes.
-
Make the back center seam allowance about 2” at the top. This will allow for you to grow or shrink the trousers as you grow/shrink.
Make the length of the trousers 4” longer than they need to be as hemming is last.
-
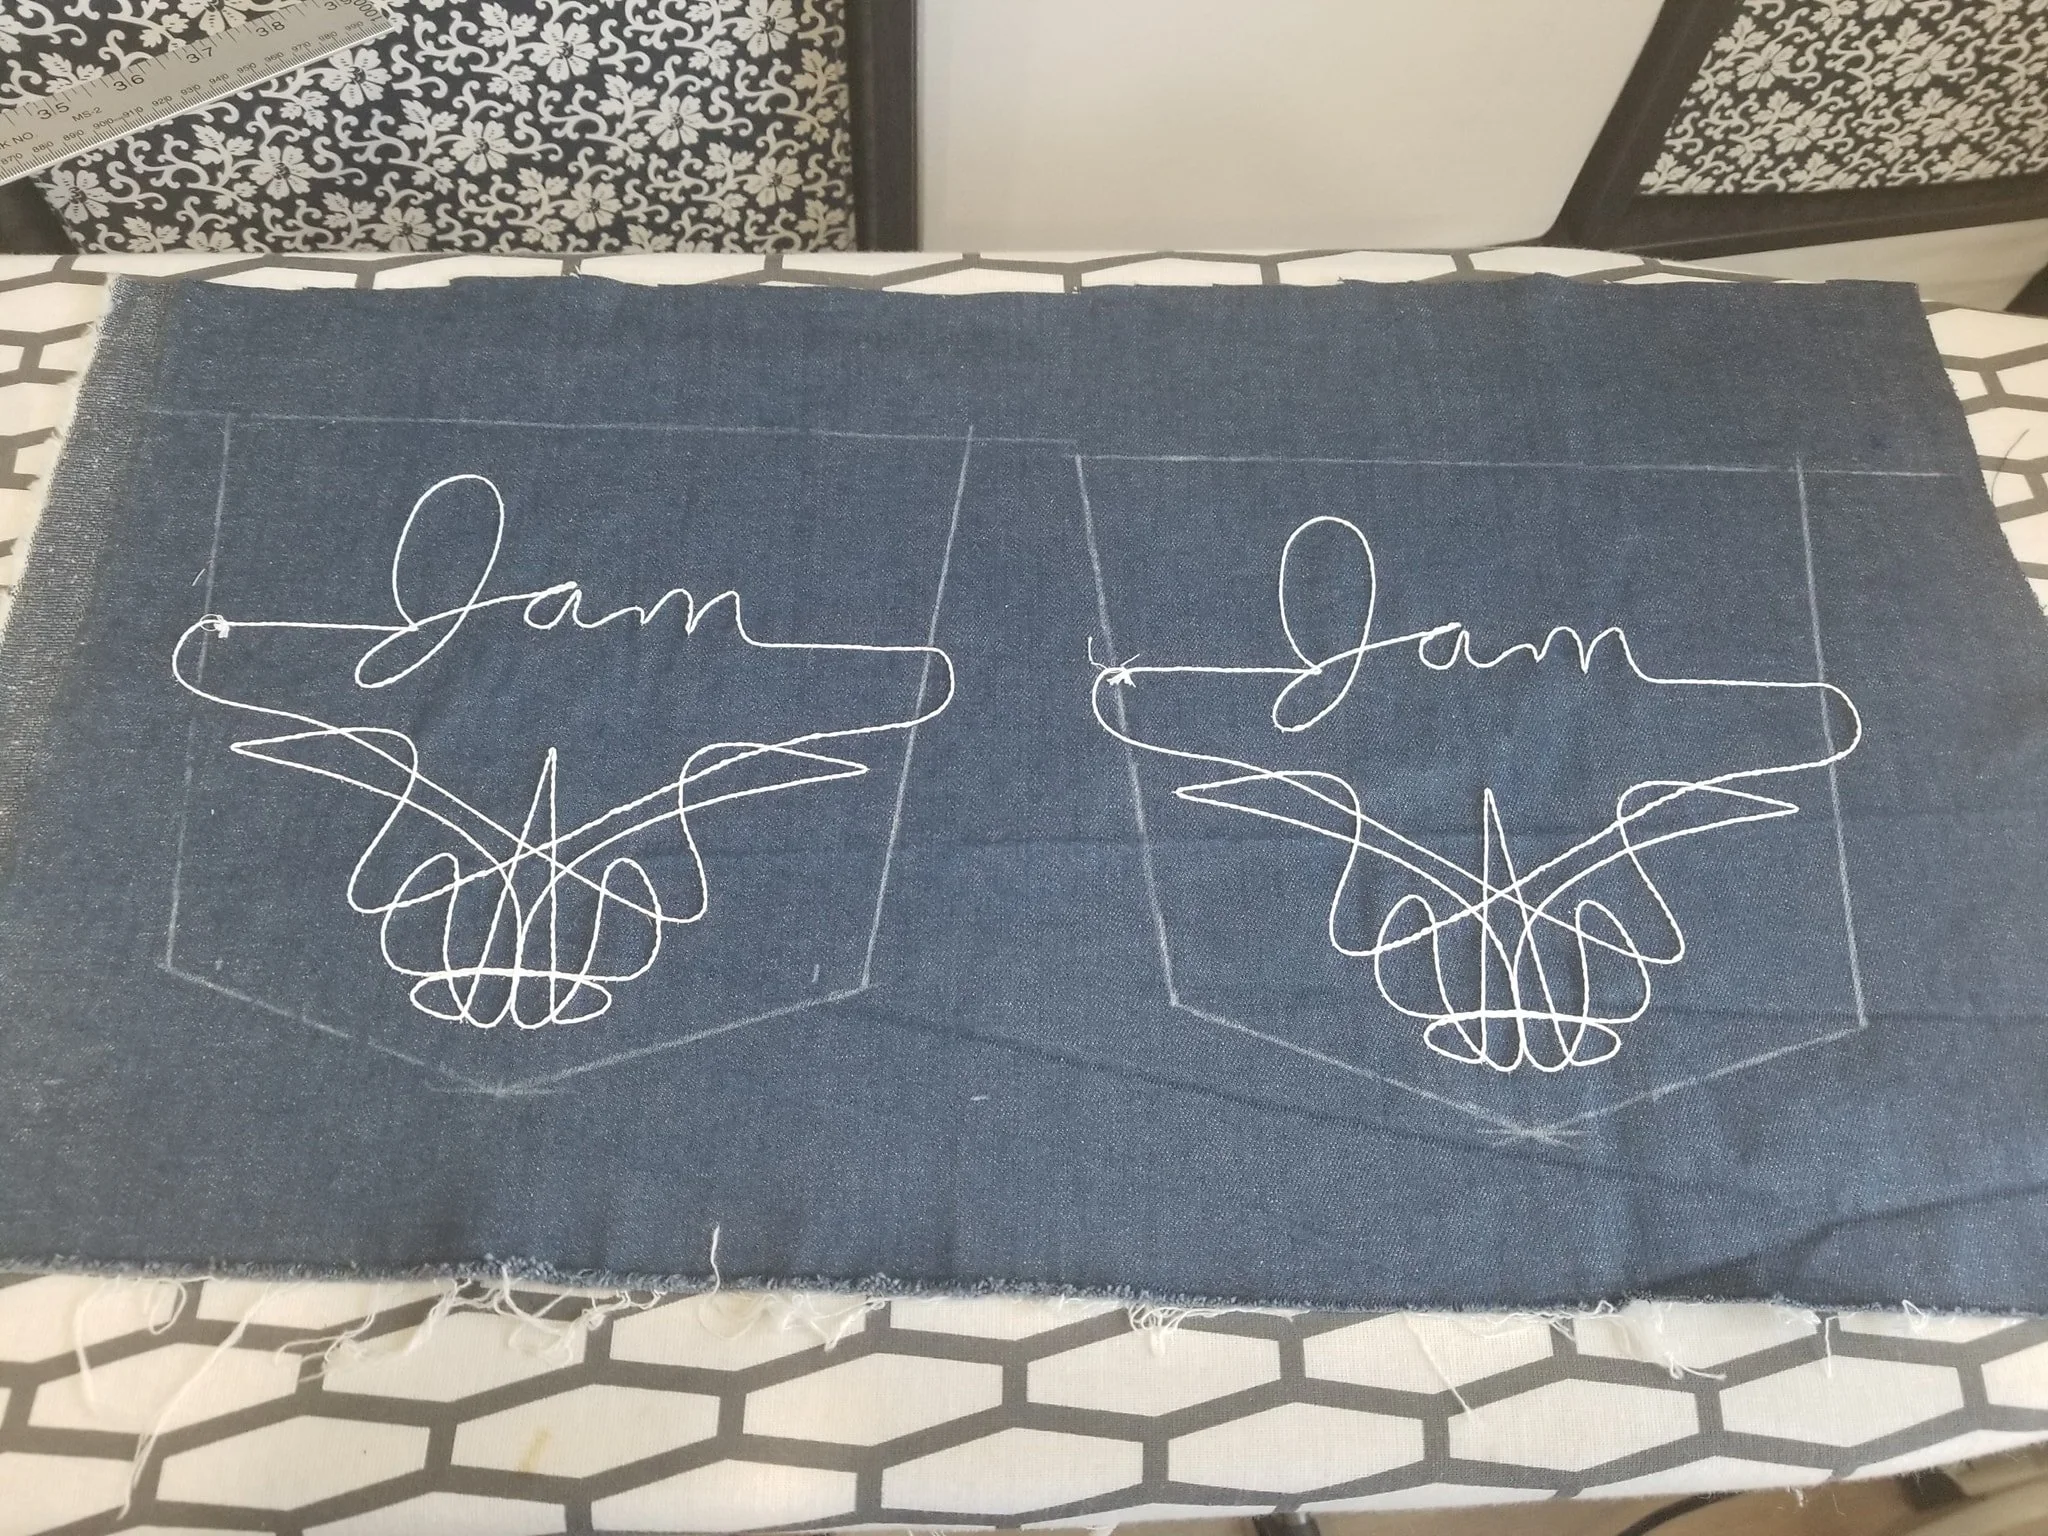
Sew in the welt or patch pockets in the back. Don’t get them too close to the back center because you’ll adjust the seam allowance slightly at the end. You may also adjust the back center seam as you grow or shrink.
-
Construct your slant pockets, patch pockets or other type.
-
Attach the left and right fronts and insert the fly.
-
Sew the bottom back center seam about 3-4”, just enough to allow you to sew the inseam on the next step.
-
Sew the inseam in one long stitch from one leg to the other. Reinforce the fork if you’d like. It’s also a good time to top stitch the seam allowance flat for greater comfort.
-
Sew the outseam. Reinforce around any slant pockets.
-
I always use a two piece waistband (left and right) so that it’s easily adjustable. This is the time to put on belt loops, suspender buttons and center front fasteners.
-
Pin or basted the back center seam where you think it should go. Try on the trousers inside out. Adjust where the seam is based on the fit you want.
-
Have someone help you in pinning the hem where you want it to fall (don’t try to do this yourself or simply depend on measurements). Make sure the back is even and you’re wearing the shoes you intend to wear with the trousers. Make the front breaks as desired. Taper the curve smoothly and evenly from the front to back. Make sure the inseam and outseam at the hem are even.